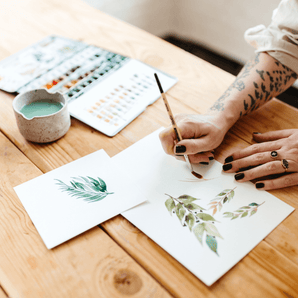
How do I make a watercolor palette correctly? This question comes up way more than you'd think. I remember the first time I was going to prep a palette and I was extremely discouraged because I had no idea how. As far as I knew, watercolors belonged in pre-made cake palettes, while acrylic paints were in tubes, but WATERCOLORS in TUBES?! That was crazy. No way. Okay but here's the thing. Once you dive into the art of watercolor and you fall deeper and deeper in love with it, you'll probably notice more particulars that you like and dislike. The biggest negative for me was the chalkiness of those cheap palettes. I swore by them for the longest time and truly believed I didn't mind how chalky they were. I thought it was normal that adding ink to my watercolor pieces was nearly impossible because it doesn't work well on top of the powdery paint.
Okay, enough of that. Just because some watercolors come pressed in palettes does not mean they're not quality paints. I'm specifically talking about my experience with my very first watercolor palette as an adult, which happened to be called "Lil' Pods." Ohhh boy. That was the only option when I ran into a bookstore while out of town on a whim because I wanted to paint. The point is, when it's time to get serious about watercolors and you decide to try out some tubes to create a custom YOU palette of YOUR favorite colors, this should help.
I'm a big fan of Daniel Smith Watercolors. Their pigment is delicious and several of their colors are created using actual semi-precious stones (how cool is that?!). That said, all of the colors in my palette are from DS.
- Daniel Smith - Chinese White
- Daniel Smith - Ivory Black (recently switched to Lunar Black)
- Daniel Smith - Burnt Umber
- Daniel Smith - Transparent Brown Oxide
- Daniel Smith - Hansa Yellow Medium
- Daniel Smith - New Gamboge
- Daniel Smith - Organic Vermilion
- Daniel Smith - Cadmium Red Medium Hue
- Daniel Smith - Bordeaux
- Daniel Smith - Cobalt Blue Violet
- Daniel Smith - Prussian Blue
- Daniel Smith - Phthalo Blue (Green Shade)
- Daniel Smith - Phthalo Green (Blue Shade)
- Daniel Smith - Phthalo Green (Yellow Shade)
- Daniel Smith - Deep Sap Green
- Daniel Smith - Sap Green
- Daniel Smith - Green Gold
Not pictured but LOVE:
- Daniel Smith - Buff Titanium
- Daniel Smith - Indian Yellow
- Daniel Smith - Pyrrol Scarlet
- Daniel Smith - Quinacridone Red
- Daniel Smith - Quinacridone Violet
- Daniel Smith - Perylene Violet
- Daniel Smith - Rhodonite Genuine
- Daniel Smith - Rose of Ultramarine
- Daniel Smith - Mayan Blue Genuine
- Daniel Smith - Cascade Green
- Daniel Smith - Jadeite Genuine
- Daniel Smith - Diopside Genuine
- Daniel Smith - Serpentine Genuine
- Daniel Smith - Green Apatite Genuine
- Daniel Smith - Perylene Green
- Daniel Smith - Diopside Genuine
- Daniel Smith - Garnet Genuine
I could basically list all of their colors because I love them so much. Anyhow, I hope that helps some. I encourage you to explore brands and colors to find your favorites. And have fun creating your very own palettes!
This post isn't about quality watercolor as much as it's about prepping your first palette. Even if you've prepped a palette before, you may find that some of these steps are new to you and may help you prepare your next one.
Step 1: Pick Your Paint Colors

This is, by far, the funnest part of the prepping process. I'll warn you - It can also take FOREVER because it's so hard to choose! I started with some basics that I knew I loved while picking a palette that had plenty of wells for additional colors to add later.

I get asked all the time, so I share my go-to colors with you below. Including what's in this particular palette. Since creating it, I have added several colors (also included below.)
Step 2: Select a Palette
Don't let this overwhelm you. I've never spent too much on a palette. You can get a plastic palette with plenty of wells for $10-20. This one is in that range and perfectly sufficient, with 33 wells and 5 mixing areas, along with a thumb insert.
Step 3: STOP Before Adding Paint!
This part is important. Have you ever seen palettes ball up with water in the open mixing wells when you're trying to blend colors? The water beads prevent the colors from mixing as well as they could. This is due to the palette not being roughed up a little. What does that even mean? Here's all you need to do.

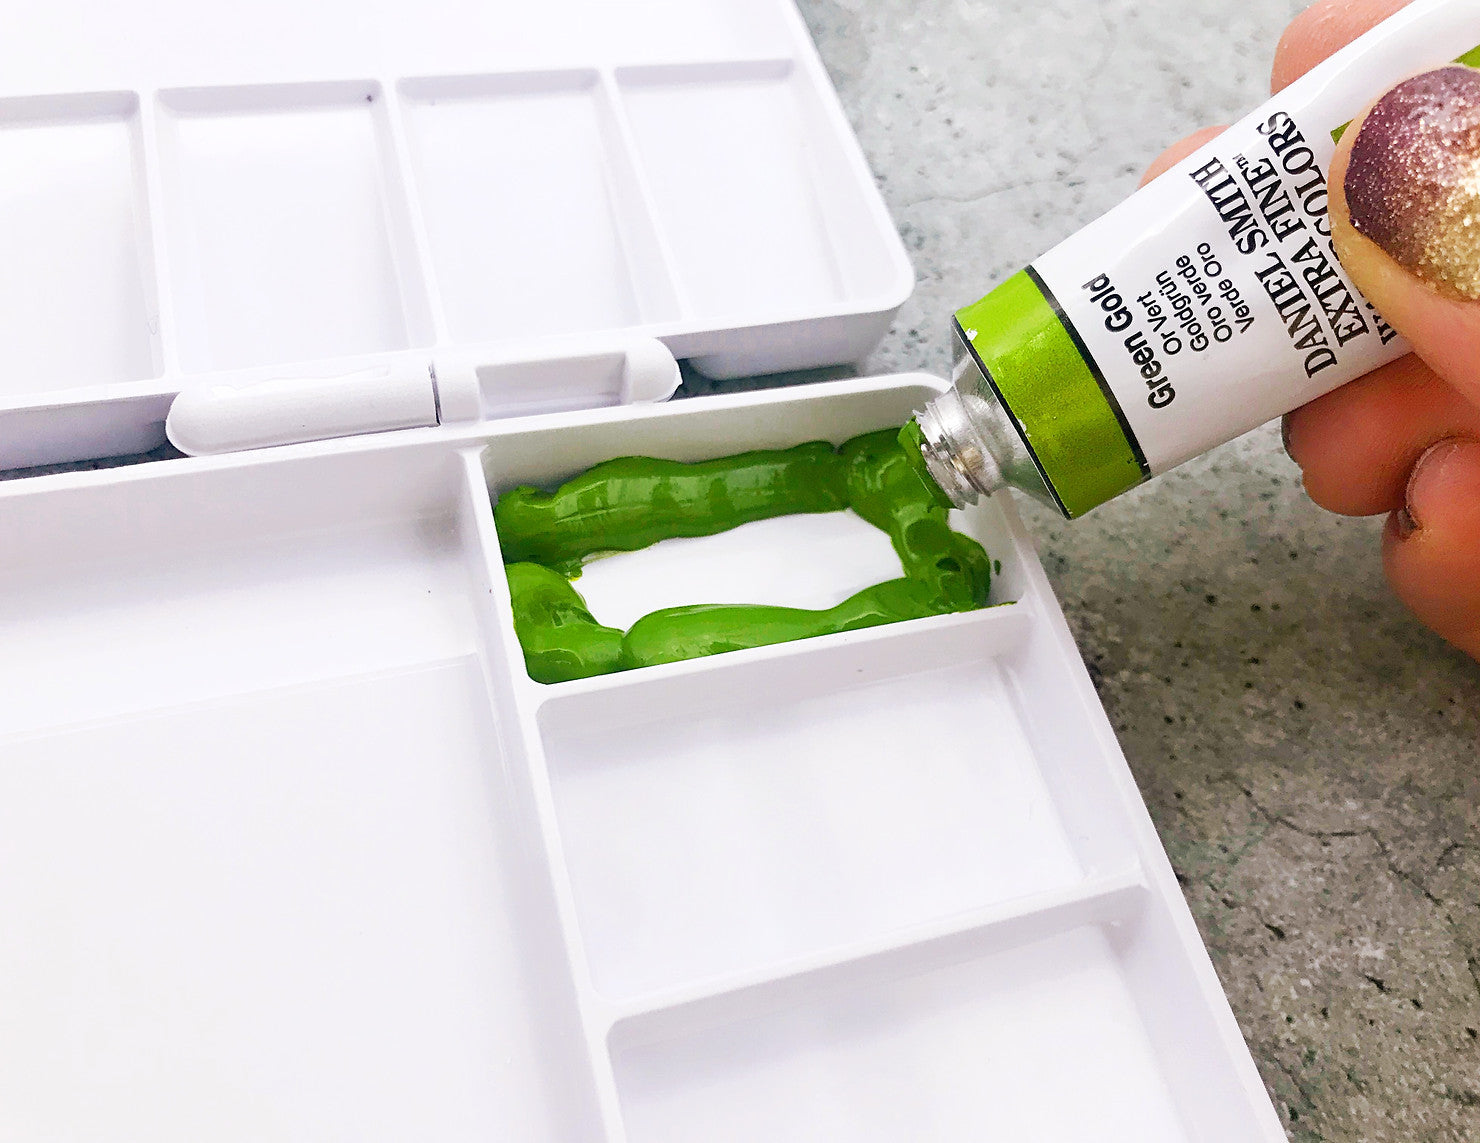
Step 4a: Add that Glorious Pigment
Now's the time to squeeze those pretty colors into your palette. There's an art to this. Rather than just squeezing paint out carelessly (which is fun and all, but...), you'll want to line the edges first. The reason for this is because once the paint dries into the palette, it can shrink. You don't want it to break loose from its well, so coat those edges and corners.
Step 4b: Fill the Rest of the Well

Continue this step until you have all of your colors filled. Notice in the image below, the wells have a slant to them (as opposed to the photo with the green paint). This is more normal, so when you fill them, leave a space in the area that is shallower.
Step 5: Let the Paint Sit Overnight

This part is optional but very helpful. Take your thumb and push into each well, creating a little crater. This preps each color for when you start using them, allowing the water to slightly pool on the surface. It helps so you don't have to keep wetting the paint when you're on a roll creating your masterpiece.
That's all there is to it! You're done! Let it sit out for one more night and go to town the next day.

Now I'll get into the colors I chose for this palette, including some add-ons that aren't shown (but they're linked) I've chosen since the initial prep of this palette.