Have you ever wanted to learn how to paint a galaxy with depth and dimensions using watercolor? Applying these easy watercolor techniques will elevate your galaxy from a flat painting to one full of life and vibrancy
Hi! I’m Vanessa Lesniak and I am so excited to take you step by step through the process of painting this magical piece.
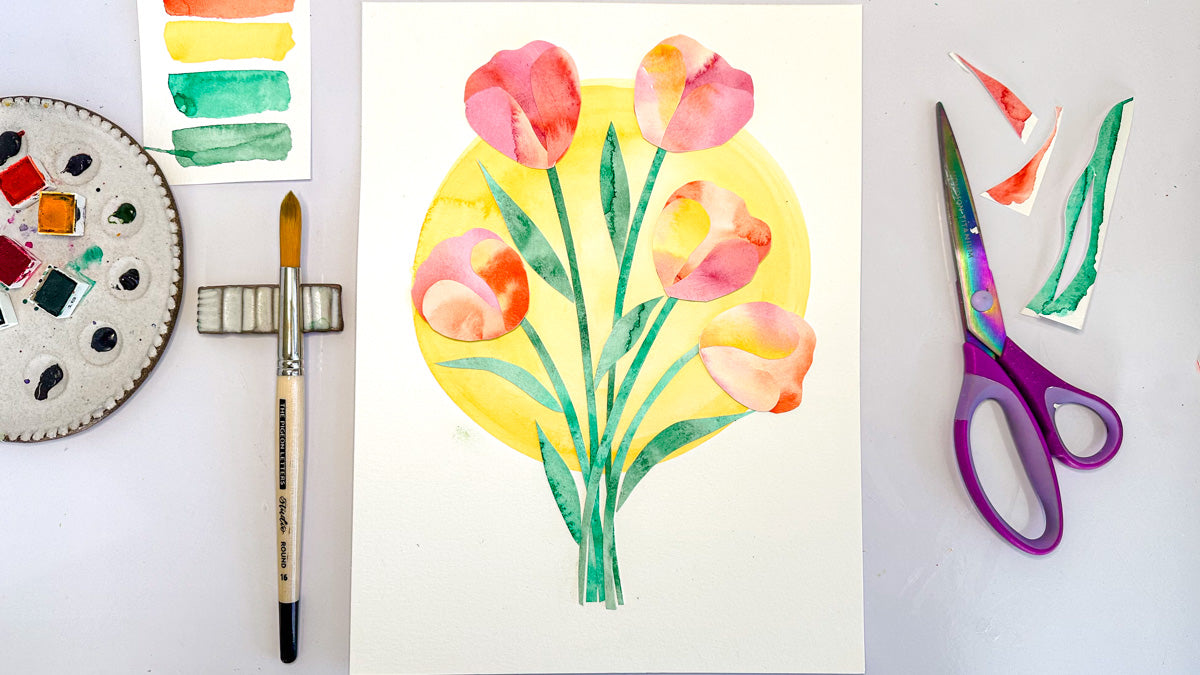
Supplies
- Coldpress paper
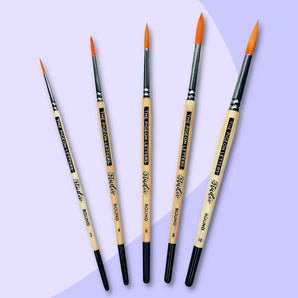
- The Pigeon Letters studio wash, size 10 and liner brushes
- Paper towel
- Opaque white paint/marker
- Watercolor paint (I use Peacock Blue by Milleo, Helios Purple by Sennelier, Bordeaux by Daniel Smith and Bright Clear violet by Mijello)
Prefer watching this tutorial instead?
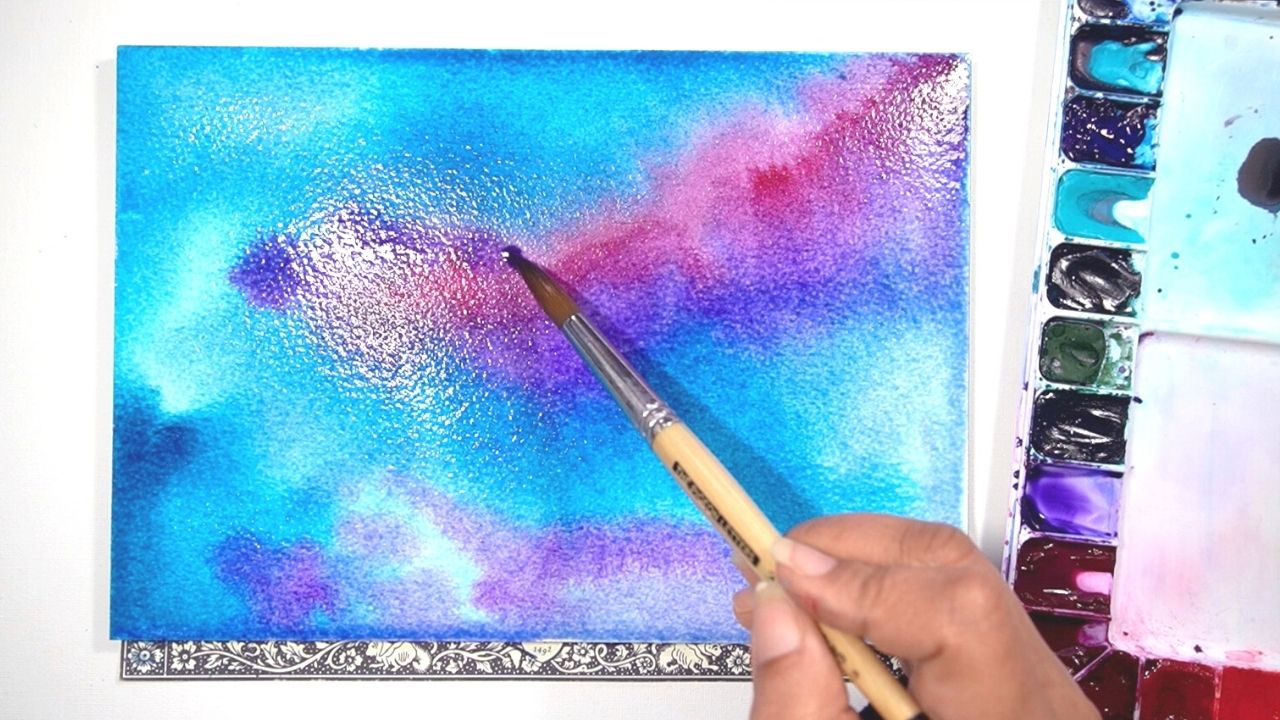
Step 1: Wet Your Paper
We will be painting using the wet on wet technique, so it’s time to wet your paper! With a flat wash, or similar brush, thoroughly saturate your paper with water. Try to avoid puddles on your paper by using a dry brush to remove excess water. You should have a nice sheen of water evenly across your paper.

Step 2: Apply a Light Layer of Watercolor
Apply a light layer of color to your wet paper. Start by adding paint directly from your pan to the paper and watering it down with a wet brush. Continue alternating between watercolor and plain water.

Step 3: Build Up Your Layers and Add Color
Begin to add 2 to 3 colors to your paper. Ensure that when mixed, your colors will blend well. For example: blues, purples and pinks go well together and blend nicely. Add as much or as little color that feels right to you.

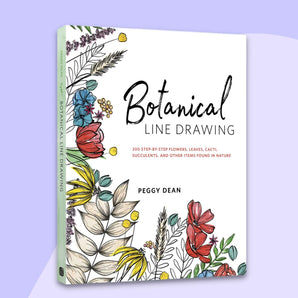
Practice your watercolor with Peggy Dean's Guide to Nature Drawing & Watercolor.
Step 4: Lift Color to Create Light
Using the broad edge of your clean brush, run it along parts of your wet paper, lifting color and creating light areas. Clean your brush in between strokes so that you are not transferring color onto your paper.

Step 5: Add Heavy Saturation to Create Depth
Add a heavy saturation of your darkest color to bring depth into your galaxy. Adding a heavy saturation of color to the edges of your paper and in between color shifts will make the depth more pronounced

Tap in drops of clean water to add texture to your piece and allow it to fully dry.
Step 6: Paint a Planet
Draw a circle in the lower left of your paper. Add white to one edge and soften the edges with water.

Add color to your planet by placing watercolor further from the edge of the white painted above. Use a clean, wet brush to blend the color into the white.

Step 7: Add Finishing Touches
With a small liner brush, add a star to the white edge of your planet: a cross with an x in the middle. Switch to your larger brush and splatter white across your paper. Rotate your hand or the paper so that splatter does not land all in the same direction. And with this final step, you are done!

See all of Vanessa’s tutorials on the blog!

Vanessa spent 16 years as a social worker and originally began experimenting with watercolor as a form of self care. It soon became a profound passion. With the encouragement and support of her wife and 3 daughters, she became a full time artist and small business owner, with a line of Artisanal Handmade Watercolors. She now shares her passion through workshops and online tutorials.
Pin this tutorial for later!