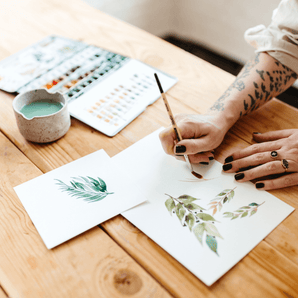
Painting a cactus might seem easy but if you've found yourself in a prickly situation, this tutorial is for you. Today we're going to paint a little cutie pie cactus in a pot using watercolors. Once you've got the steps down, you can re-create it using another medium of your choice!
So glad you stopped by (^-^). I’m happy and honored to share a painting tutorial with this community. Whether it’s your first time or your hundredth time painting, I hope you’ll join me. Let’s get started!
Supplies
Here are the supplies I used (this is just a recommendation..feel free to use what you love)
- Paint colors: lemon yellow, ochre, burnt sienna, pthalo blue, ultramarine blue
- Brushes: TPL round brush (size 10) and detail brush
- Watercolor paper: 200g or more
- Water
- Paper towel/rag
- Pencil
Step 1: Sketch with Pencil 
Let’s start by penciling in the outline of our cactus sitting in his pot. I’ve also lightly indicated where the shadow side will be.


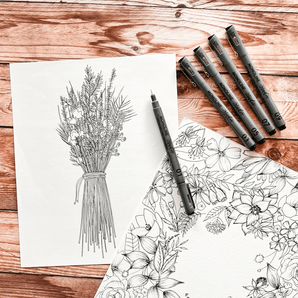
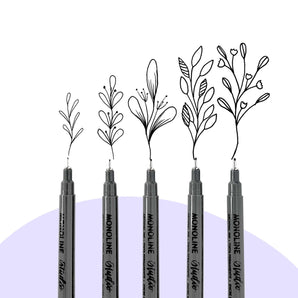
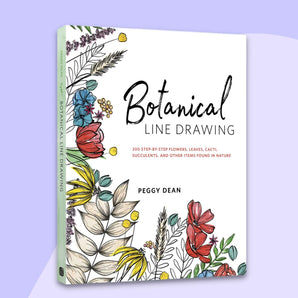
Not sure how to start drawing a cactus? I've got a book just for you 😉 Try out some other plants as well while you're at it.
Step 2: Paint the Pot
Now onto the pot! Dip your brush into your ochre and starting from the left side, paint the outer edge. 
Now rinse your brush, swipe the excess water along the rim of your water cup or palette, and then spread the color until you reach the right side. You’ll see a nice change in value to help give it a sense of volume. 
While it's still wet, drop in some burnt sienna to areas to help create contrast and bursts of color. I like to place them on the edges but anywhere is good! No wrong way to do this, just don’t forget to do the back of the pot, too.
Step 3: Paint the Cactus

Cactus time! Mix your yellow and phthalo blue (or any blue) to make your green. Paint each shape using the same technique we used to paint the pot: put down color then spread with water. You can also throw in some splashes and splatters along the way. Keep it loose!

Continue painting in your oval shapes. You can change the shade of green by mixing different blues and yellows. For example, for a warmer green, try mixing your burnt sienna with phthalo or ochre with ultramarine. Let colors mingle.
Step 4: Paint the Soil and Shadow

Every plant needs soil to grow. Mix your burnt sienna and ultramarine for a nice earthly dirt color. Drop it in between the cactus and inner portion of the pot. For the shadow, you can mix a little bit of your ochre, ultramarine, and sienna to get a neutral dark mixture. Dilute the shadow as you move further away by rinsing your brush in some water and spreading it outwards...keeping it irregular. You can also add another layer of color along the edges of the pot to create more contrast.
Step 5: Add Details

Add some tiny spikes and texture (v shapes and dots) with your detail brush. Place them in different areas...the edges, towards the center of each oval shape, etc.
Step 6: Finishing Touches

We can emphasize the shadowed side of our cactus a bit more. To do that, place some more color along the left side of each oval and where one oval sits on top of another. Blend it with water for a smoother transition.

ALL DONE! There are endless possibilities to painting cacti and succulents. Change up the shape, color, pot design, you name it! Hope this inspires you to add a little greenery to your sketchbook. Thanks so much for painting with me. (-^O^-)
Jamie Kim [ illustrator ]. Making a little time everyday to create and connect through art. For more visit me at inksnthings.com / IG: @inksnthings

Can't follow along now? PIN FOR LATER!