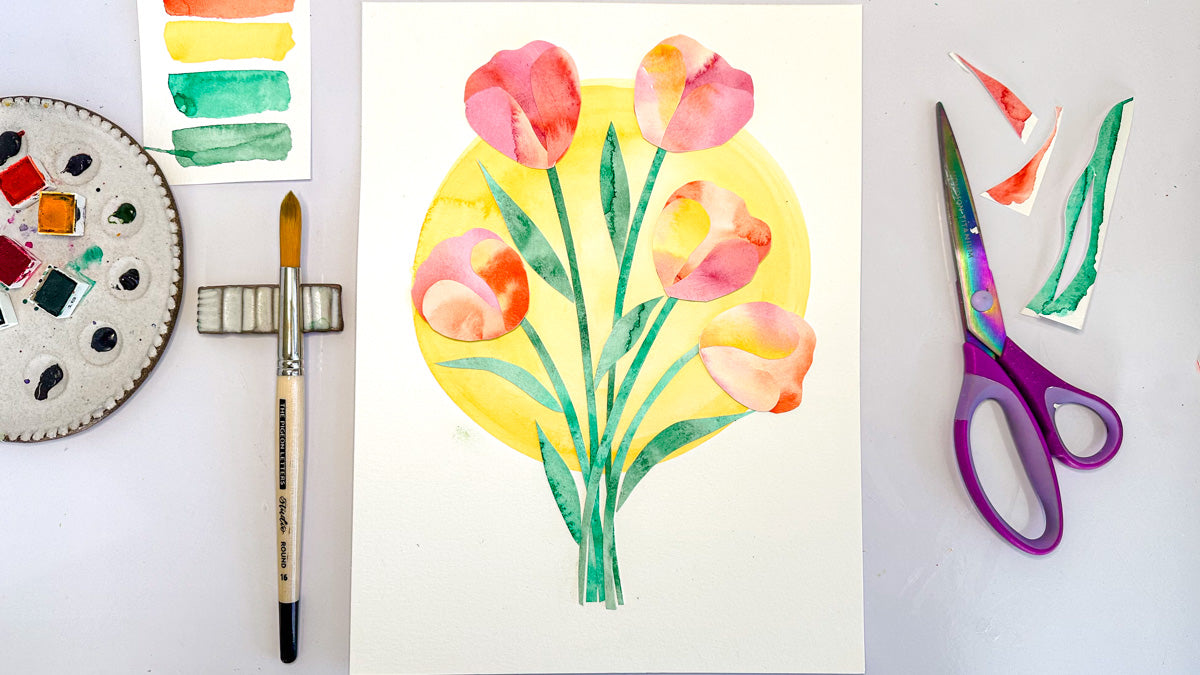
Ever wish you could create a fun, colorful, and folksy floral painting? In this tutorial, we’ll do just that! It’s a fun process that allows you to get playful, loosen up, and let go.
Hi! I’m Tifany Hamlin, a mixed-media artist who is OBSESSED with flowers. This is one of my favorite styles to paint! Whenever I just want to create without a specific goal or end result in mind, this is the style I turn to. It’s perfect for my art journal or for a special note card to give to someone. They are super quick and always turn out so cheerful!
Supplies:
- Watercolor paper - I’m using this one by Legion
- Gouache paints – whichever you like best. I’m using Arteza Premium Gouache Colors. In this painting, I used these colors: Rose, Vermilion Red, Light Apricot, Mid Yellow, White, Sap Green, Deep Green, Prussian Blue, and Sky Blue
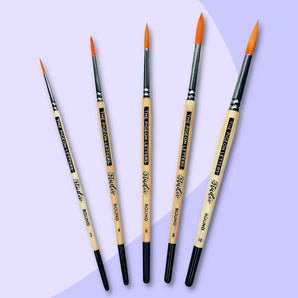
- Paint brushes in size 10 & 6 - this is a great set!
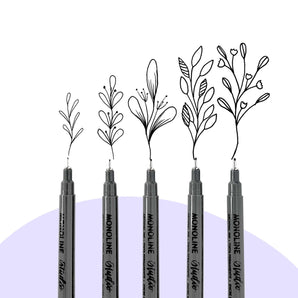
- Archival ink pens - size 8 and size 5
- Sharpie fine point permanent marker in black
- A glass of water to rinse your brush
- Paper towels
- Palette to mix your paints

Before you get started, download this free worksheet to practice brushstrokes and gather ideas for shapes and line art to use in your painting.
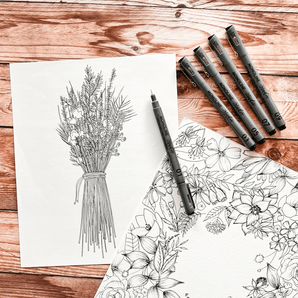
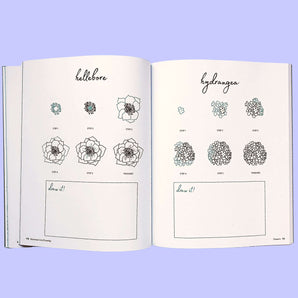
One of my favorite resources for nature inspired line drawing is Peggy’s book, Botanical Line Drawing! It’s a great place to get inspired and practice.

Step 1: Paint Blobs

Seriously. It’s just blobs!
Pick a light color to start with. I started with Light Apricot (you can mix a cadmium orange + white to get something similar).
Using your size 10 round brush, paint as many blobs as you’d like but remember you’ll need space for two more blobby shapes. I painted five Light Apricot blobs that were kind of circular.
Pick another color and paint more blobby shapes. My next color was Rose (it’s just like magenta). I painted three rose blobs around the page.
Pick your third color and paint another shape to keep it interesting. I chose Sky Blue (similar to periwinkle or you can mix ultramarine blue + a touch of magenta + a lot of white). My shapes are overlapping paisley type shapes.

Get your hands on the best paintbrushes - you might think we're biased, but we're just telling the truth 😉
Step 2: Paint Leaf Shapes
Now it’s time to add some leafy shapes. Again, don’t get too hung up on what they look like. Stay loose and have fun!
Paint a stem and add small leaves in green. I like to mix my own green colors. With this shape I used Sap Green + Deep Green + a touch of Rose (a.k.a. magenta) to get a more realistic shade of green. Add them around the page wherever you’d like.
Paint larger leaf shapes. For my large single leaves, I mixed Mid Yellow + Sap Green + a touch of Vermilion Red (similar to cadmium red).
TIP: Paint odd numbers of the same shapes to keep your composition interesting.
Before moving on, let the first layer completely dry.
Step 3: Add Petal Shapes and Details

Now you are going to paint a layer on top of all of your blobs. Add dots, dashes, zig zags, anything you want to decorate your first layer using darker or lighter colors.
Here’s what I did:
Mix a bit of vermilion red (similar to cadmium red) and white to create a gorgeous coral, salmon pink. Starting with the first Light Apricot circular blobs, with your size 10 round brush paint a small oval in the center of one of your circles. This is the center of your flower. Paint a small petal near the center. Repeat with another petal making sure to overlap the ends to create a layered, rose kind of look.
Repeat this with all of your round blobs using matching colors. For the magenta colored flowers, I mixed Rose + a lot of white for the petals. For the dark center, I mixed Prussian Blue + a bit of Vermilion Red.
On the paisley shapes, I outlined them using the same Prussian Blue + Vermilion Red mix and a size 6 round brush.
I added a lighter green to the dark leaves and a darker green detail to the light green leaves.

Step 4: Fill in Your Composition

In this composition, I had a lot of blank space. I added light pink (Rose + White) dots to fill in some of the space and to add more interesting details. I then added dark blue (Prussian Blue + Vermilion Red) dots for their centers.
Fill in your composition with smaller shapes repeating some of the same colors you’ve already used.
Step 5: Add Ink Details

Once your painted layers have dried, it’s time to add in the wonky and fun ink details! Draw random shapes and lines to add more detail to your painted shapes. I started with the size 8 pen and added several leaf shapes.

Lastly, I used a fine point Sharpie permanent marker in black to create the background detail. I added dots to fill in the spaces between the shapes to create a feeling of a solid background.
And TA-DA!! You’ve got a happy little painting full of color and fun to keep or share!
I would LOVE to see your paintings so please tag Peggy (@thepigeonletters) and me (@redhatgirldesign) so that I can share or see them.

Tifany Hamlin is a self-taught, mixed media artist living in Arkansas. She’s obsessed with flowers (if you couldn’t tell by her Instagram feed) and believes every person should have a bunch in their life. Her other passions include gardening, cooking, traveling, and living the good life here in Arkansas.