Today I'll be teaching you a step-by-step watercolor poppies tutorial!I believe the greatest thing about simplicity is that nothing stands out yet everything leaves an impact. I'll be using a wet-on-wet technique today to really emphasize my mantra of every part of a piece leaving an impact.
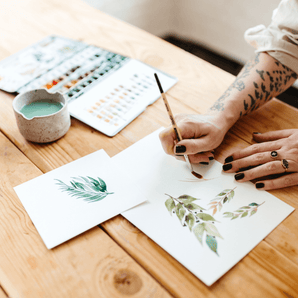
Hi friends! This is Varsha Lad from @varsha.lad.art on Instagram! I don't know about you, but I love to create a very minimal watercolor composition. Let's get into it.
Painting loose flowers is super easy so if you're a beginner, you've got nothing to worry about! Just go with your heart as I did and do tag me if you re-create it. Let’s paint and let the brush do its dance! Step-by-step instructions below!
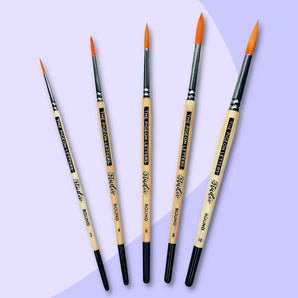
Supplies:

Step 1: Practice Sketching Flowers

We'll start by understanding how a minimal composition is created! Try painting a few flowers individually, instead of creating a flower field or a bouquet. Sketch your poppies in different directions to give your composition a variation of views.
This pencil sketch will help guide you through the varying directions your flower can be facing. This step is super helpful for prepping for your piece, as well as give you a visual of how the results make look!
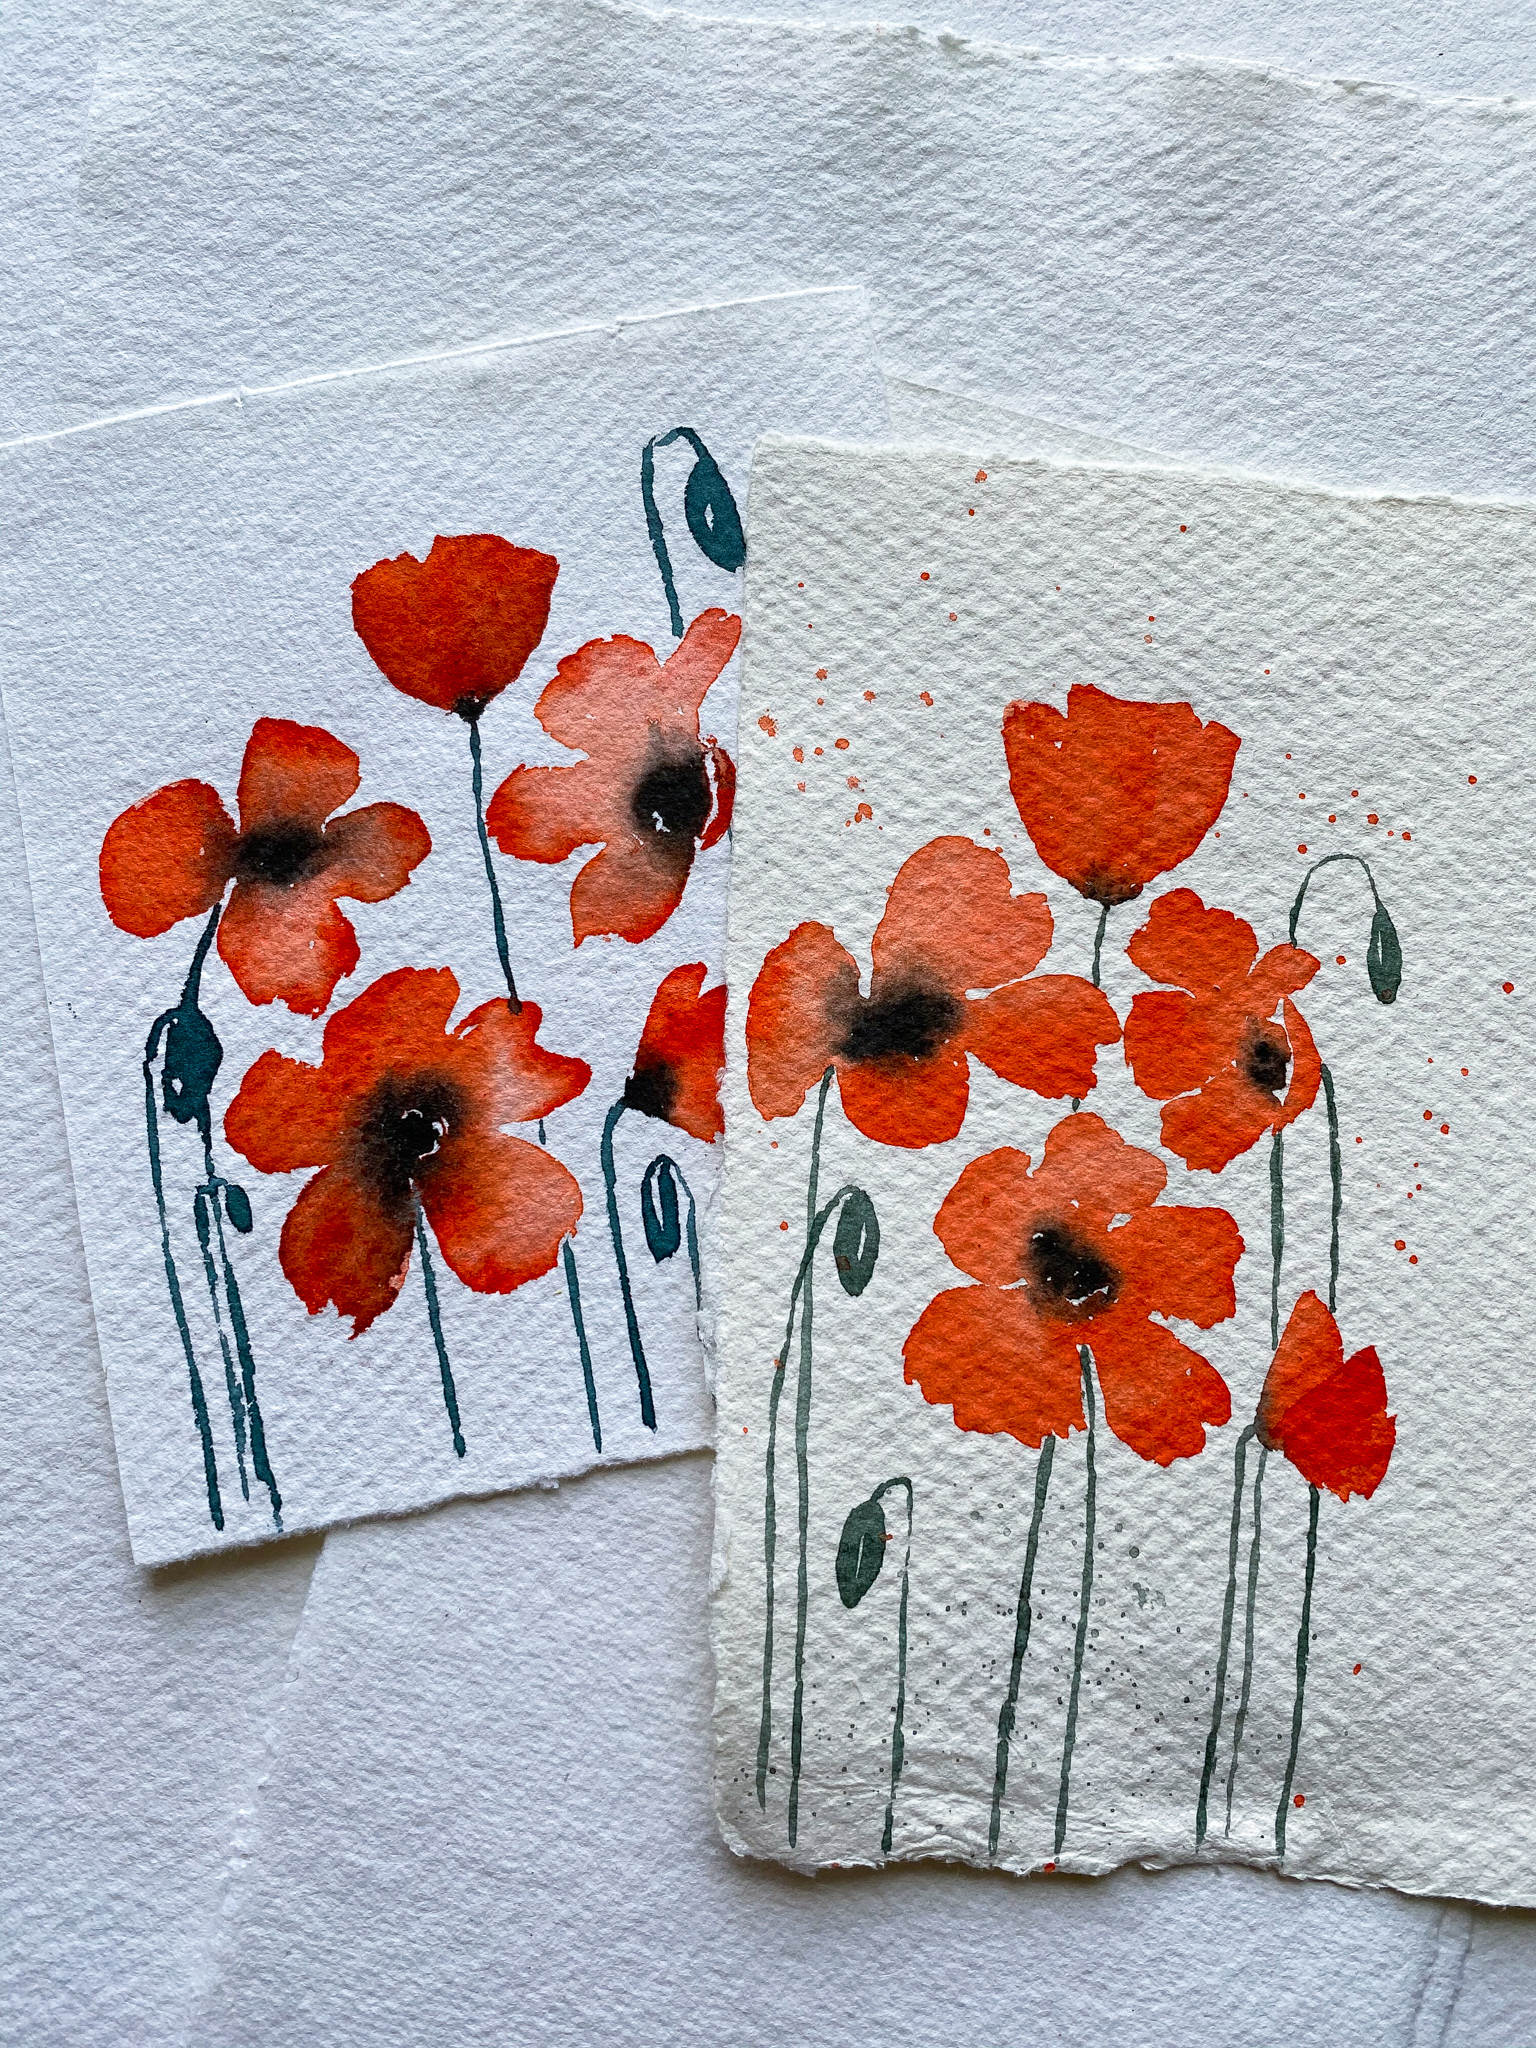
Step 2: Create Petals

Using the wet-on-wet technique, begin by first painting the basic loose shape of the poppy. Keep in mind where each flower would be facing, just like your previous sketch! Add more water than the pigment to maintain the transparency of the petal and create that gorgeous lightness we want. Leave the center of the petals unpainted as more detail will be added in the next few steps!
Step 3: Add Depth to the Petals

Add a touch of the same red color along the edges of the petals to give them even MORE depth. Define them, while the paint is still wet (wet-on-wet technique!). This way the flowers are interesting yet minimal without using any other shade of color. Let the color bleed and enjoy the process!
Step 4: Defining the core of the flower:

Load your brush up with black paint and add the color to the center. Keep in mind that it needs to bleed BUT in a controlled manner. It shouldn't bleed into the petal completely but more so focused on the center of the petal!
Pro tip: Don’t rush this part! Take your time to add black when the paper is not too wet. If you do this too quickly, the black will overpower the red!
Step 5: Adding buds:

Now comes the fun part! Pop green buds in here and there on the flowers. The stem of the bud is kept thin to give the flower a delicate look. The buds have a white area to give it a more clear perception of the direction of the light.
Feel free to choose any shade of green you like! I have added a little bit of grey paint to the green to tone down the brightness of the green.
Fun tip: Add splatter of green OR red if you want to make it more interesting!
I hope this helps you to create a simple floral painting that's minimal yet impactful. Using the same techniques, you can try to create a similar minimal composition with different flowers or even berries! Don't forget to tag me in your creations (@varsha.lad.art)!

I'm Varsha Lad from @varsha.lad.art and I'm a self-taught artist based in India! Watercolor and Gouache are some of my favorite mediums to use for painting. I really enjoy sharing my painting to help beginners learn the basics of paint. I also hope to be inspiring people who may want to paint but just haven't found the inspiration to start yet!
Painting is a great hobby to have for anyone, so don't wait to get started! Do it now!