Have you ever gone to plant seeds in your garden and found yourself admiring the design on the seed packets? Both vintage and modern seed packets have great design and make quirky additions to a gallery wall. But why not try creating your own in a whimsical and retro style using TPL brushes?
I’m Alicia from The Pigeon Letters Design Team, and I’m a lover of flowers and all things retro. Join me as we combine these two things to create a whimsical piece of digital art using Procreate and TPL brushes!
- iPad Pro with Apple pencil
- TPL Vintage Texture Brushes for Procreate
- Reference images (1, 2)
Step 1: Review Reference Images
Before we start sketching, let’s take a look at the reference images and make a plan. Decide what information from a real seed packet that you’d like to include in your sketch: I’ve decided to include the flower name, a seed company name, price, and a year.

Prefer watching the video version?
Step 2: Make a Skeleton Sketch
For the sketch layer I recommend using one of the pencil brushes in the Vintage Texture Brush Set - I am using Curio Ink for my sketch. Start by making a simple skeleton sketch to get the basics of your layout down. Draw a rectangle seed packet, then write the name of your flowers out to get an idea of how much space you’ll have left for the flowers.

Step 3: Add Flowers to Sketch
Using your reference image, start making basic flowers around the seed packet. I’ve simplified the California Poppy by drawing four petals fully open, or side views of 2-3 petals. As you add to the composition, make some flowers larger and some smaller to fill in the space. The idea here is to keep it super simple - don’t worry about adding a ton of detail or making the blooms look super realistic.

Step 4: Add Lettering to Sketch
Next, work on creating lettering in the space above and below the flowers. These letters are loose and whimsical, almost as if they’re lava inside a lava lamp moving with the flow. Let some of the letters have extra long sides and make other letters smaller, nestled in where they fit best.

Step 5: Finalize Sketch Layer
If you need to make any adjustments to the composition you can do that now. Once everything is the way you want it, add the final details such as the seed company, price, or locations. You can use a real seed packet for reference here or just completely make something up!

Step 6: Ink Flower Layer
Switch your brush to one of the ink brushes in the Vintage Texture Brush Set - I love Vintage Monoline or Pulpy Pointed Pen. Lower the opacity of the sketch layer and begin your inking in a new layer, tracing over the sketch until all of the flowers are filled in.
Create a new layer and choose a contrasting color. Add 3 solid dots to the center of the open flowers, varying the size to create interest.

Step 7: Ink Lettering Layer
On a new layer, use the same inking pen or swap to a different one to change the texture. Trace over your lettering sketch and fill in so they’re solid.

Step 8: Additional Inking
Trace the outline of the seed packet sketch and fill it in with a solid color. Make sure this layer is behind all of your other layers.
For the final details of the seed packet, you can use either an inking pen or a pencil brush depending on the style you’re looking for. Add details like a seed company name and location, price, etc.

Step 9: Add Texture Details
Your design can be complete here or you can add some additional texture and shading! A larger texture brush will create a drop shadow under your seed packet - just make sure this new layer is below the seed packet layer.
For subtle texture, use one of the texture brushes on a new layer just above the seed packet layer. Create a clipping mask to make sure this texture doesn’t spill over into the background.
Continue adding texture or shading to any other areas that you want! Make sure that your texture is in a new layer with a clipping mask just above the layer you want it to affect.

I hope this tutorial has got you ready for spring whether you’re planning to grow a garden or just admire your illustrations from indoors! Please share your artwork with me at @thealiciabruce on Instagram - I’d love to see what you create!
See all of Alicia’s tutorials on the blog!
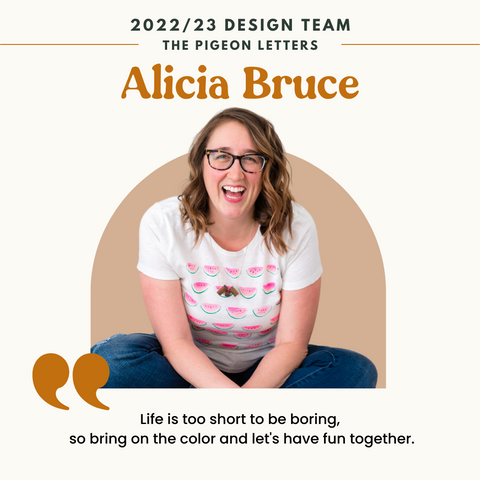
Alicia is a 30-something photographer and artist with a love of color and a refusal to act her age. She favors a mix of pastel and bright colors, reminiscent of southern California and the 1960s, and is inspired by her travels around the world, wildflowers that might have been found in a hippie's flower crown, and lettering that has a little bit of flair to keep it whimsical.


