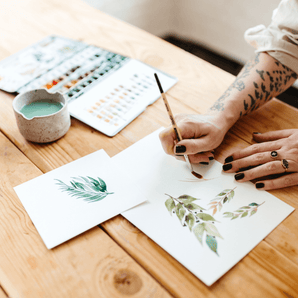
Let’s paint a whimsical mushroom together! In today’s tutorial, we’re going to paint a realistic watercolor mushroom and add an expressive background behind it.
Shannon here from The Pigeon Letters design team and I’ll be sharing new tutorials on the blog every month! For this month’s tutorial I wanted to paint something inspired by fall and the colors of nature with a fun twist.
Supplies
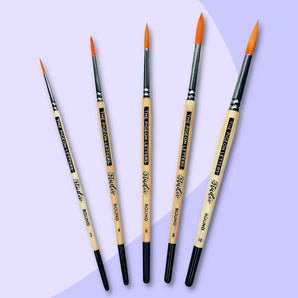
- Paintbrush and Water
- Watercolor Paper
- Watercolors: yellow, red(2 shades), purple, green, brown and black
(I’m using Mijello Mission Gold watercolors: Permanent Yellow Deep, Permanent Red, Rose Madder, Bright Clear Violet, Sap Green, Vandyke Brown and Ivory Black)
Prefer watching the tutorial instead?
Step 1: Sketch Your Mushroom
Sketch your mushroom onto your watercolor paper. I’m using a sheet of paper from the 9x12 Fabriano Studio pad but you can use any size you’d like.
Here’s a look at the image that I used as the reference for this painting.

Here’s a look at the image that I used as the reference for this painting. 
Step 2: Paint the First Layer of the Mushroom
For this first layer of the mushroom cap you’re going to use your yellow and reds. Starting with yellow, paint a small part of the left side, then gradually add the other two red colors as you paint across. (You should end up with your darker red on the right side of the cap.)
Create a warm light gray color by mixing a bit of Ivory Black, Vandyke Brown and water. (Make sure you test your mixture on a piece of scrap paper.) Then use that to paint the mushroom stem. 
Step 3: Build Up Colors
Allow the first layer to dry completely. Then using the same colors as the first layer, paint over the mushroom cap. As you get to the darker right side, mix a small amount of violet with your darker red and add that color to the bottom right side of the mushroom cap.

Using your warm gray mixture add shadows on the mushroom cap. Then clean your brush and use water to blend the shadow into the stem.
Create a warm light gray color by mixing a bit of Ivory Black, Vandyke Brown and water. (Make sure you test your mixture on a piece of scrap paper.) Then use that to paint the mushroom stem. 
Step 4: Add Final Details to the Mushroom
Optional : A super fun way to create a sheen effect when painting with watercolors is to use chalk. Add some white chalk to the upper right side of the mushroom cap. (If you look at the reference image you will notice that’s where the light source is.) Then use your finger to blend it into the paper.
This is a non-destructive method of adding white on top of watercolor because you can just use a dry paper towel to brush it off. 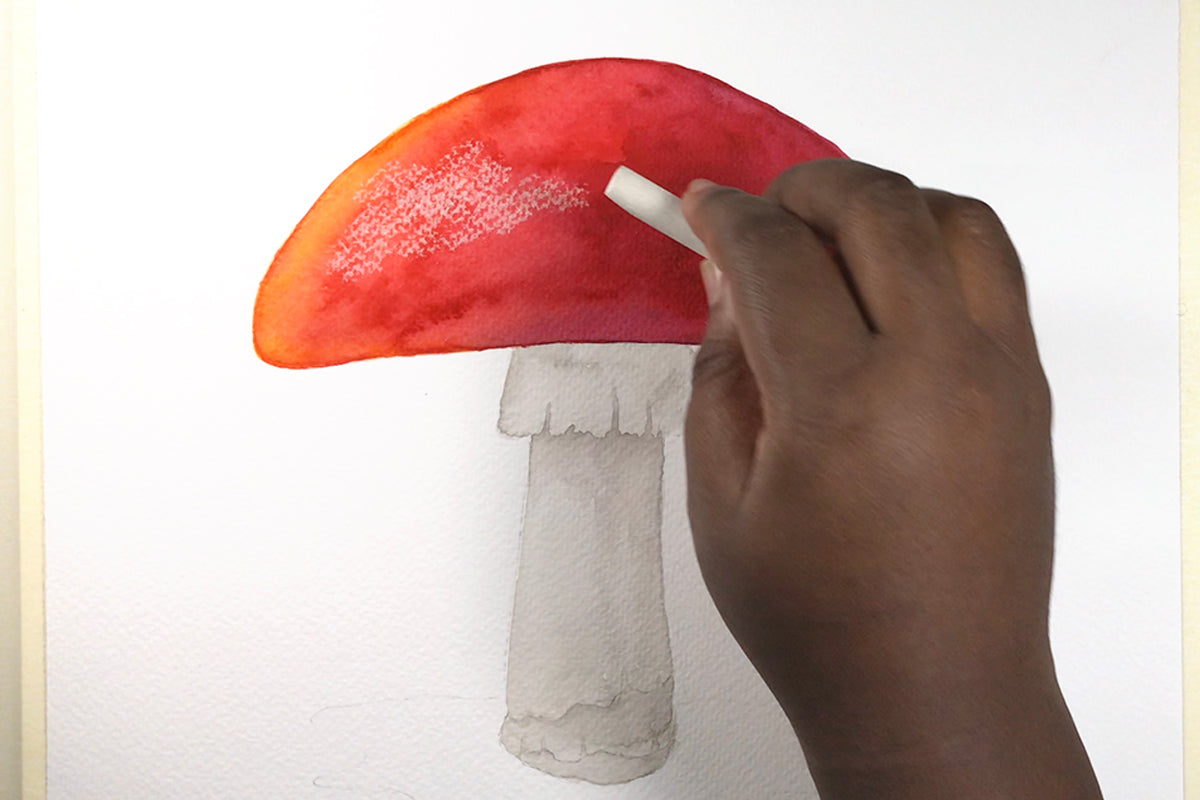
Using your white medium, add dots to the mushroom cap. Make them different sizes and imperfect circles. To make the larger spots, I’m just painting a cluster of smaller dots.

You can add any additional shadowing you need to the mushroom stem and then allow the painting to dry.
Step 5: Paint the Background
To create a fun, expressive background, instead of painting it in flat wash of color, paint it using varying values of sap green. You can start with a light value and then add in darker values to a few areas. 
While the paint is still wet, sprinkle some coarse table salt and add splatters of clean water and also paint splatters to create some texture in the background. 
Step 6: Add the Grass
Mix a bit of your brown with sap green to paint some thin blades of grass around the mushroom stem. You can also add a few dots for flowers and a few leaves. Make sure that your painting is completely dry before you do this step. 
To complete the painting add a few splatters of white, red and even yellow.
Thanks so much for following along, if you create this painting don’t forget to tag me @byshannonlayne so that I can see how it turned out!

Shannon is a freelance artist from a small island in the Caribbean called Barbados! She creates fun and unique content, whether it's with markers, watercolors, acrylics or on the iPad to inspire other creatives. Check out more of her tutorials on the blog!
How about pinning this tutorial for later?