Watercolor can be such a versatile and beginner-friendly medium! One of the easiest ways to take your watercolor paintings to the next level is to add texture. Today, I am going to show you six ways to add texture using products around your house.
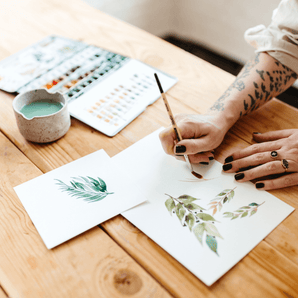
My name is Julie, and as part of The Pigeon Letters Design Team, I love to be able to share the tips and tricks that I’ve picked up along my art journey. I frequently use each of these texture techniques in my work and I am so excited to be able to share them with you. Let’s get started!
Supplies:

- Watercolor (any color- I chose Perylene Green)
- Watercolor wash brush
- Watercolor round brush
- Watercolor paper
- Table salt
- Sandwich bag or plastic wrap
- Clean household sponge
- White crayon
- Clean jar of water
Want to watch this tutorial instead?
Water Blooms: Apply Clean Water to a Watercolor Wash

To achieve this beautiful texture, you only need your watercolor, a brush and clean water. First, you’ll paint a wash on the watercolor paper and allow it to dry slightly. If your paint is too wet, the water won’t move correctly.
Next, rinse your round brush and apply small drops of clean water to the watercolor wash. The water will push away the pigment and create blooms. These blooms give such an organic and interesting texture.
Watercolor Blooms: Apply Paint to a Clean Water Wash 
This next texture is essentially a reverse of the previous one. First, using your wash brush, you’ll cover the watercolor paper with clean water. This can be in any shape that you want. Let the water dry slightly to avoid pooling.
Next, load up your brush with pigment. When you touch your brush to the wet paper, the paint will start to bloom out across the page. You can move your brush in straight lines or just small drops to play with different styles of blooms. This is, by far, my favorite way to add texture.
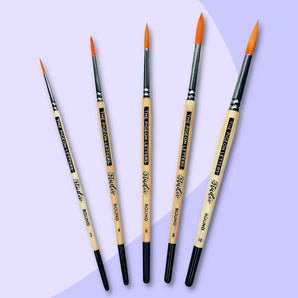
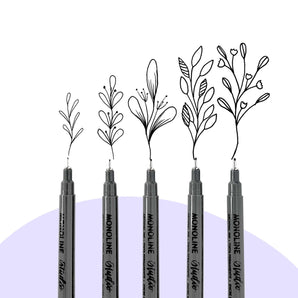
Level up your watercolors with these artist-grade, cruelty-free brushes.

Create Negative Space: Repeal Watercolor with a White Crayon

Using your white crayon, draw any shape you want on your watercolor paper. This can be anything from a floral design, piece of lettering or highlights for a landscape. Brush away the extra bits of wax with your hand and apply a watercolor wash over the entire design.
The wax will repel the water and when it dries you will be left with a really textured piece. This is also a really fun technique to share with kids! They love uncovering the “hidden messages.”
Salt: Sprinkle Salt on Wet Paint to Create a Small, Spotted Texture

One of the most tried and true ways to create texture on a watercolor piece is to sprinkle salt on the wet paint. Wherever you sprinkle the salt, it will soak up a little of the water (and thus the paint) from that spot. This creates small, star-like blooms.
Sandwich Bag: Use a Sandwich Bag to Spread the Pigment

For this texture, you’ll need your watercolor supplies and a sandwich bag or piece of plastic wrap. You are going to place droplets of paint and water on your paper and place the plastic bag flat over the top of the paint. Use your fingers to spread the pigment around and then peel off the plastic.
I like to apply a light wash before adding the drops to the paper to create a more subtle textured effect. You would want to wait until the wash is almost dried if you decide to do this to prevent the paint from bleeding too much before you spread it with the plastic.
It is also fun to use different colors for this technique! They will blend together when you press the plastic wrap over the top.
Sponge Painting: Use a Sponge Dipped in Paint

Cut a clean household sponge into a workable size, and dip it into your watercolor paint. Dab the sponge on your paper with varying pressure and angles. You can play with the water to paint ratio to make the effect more or less pigmented. This technique is great for creating trees or other organic textures.

Now that you’ve practiced six different watercolor textures, it’s time to use them on your own work! The possibilities are endless and I can’t wait to see what you create! Tag me or share with me on Instagram, I would love to see your work. Thank you for creating with me today!
![]()
See all of Julie’s tutorials on the blog!
Julie is a self-taught, multidisciplinary artist living in California with her husband and three daughters. She is inspired by the beauty of the mundane and the chaos of motherhood. One of the greatest joys in life is sharing her art to help ignite the creative spark in others.