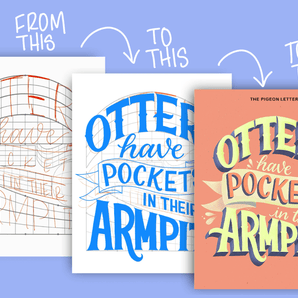
Do you love birds as much as I do? If so, please join me in learning how to create a beautiful kereru bird using these simple steps. This is a relaxing and beginner friendly activity that only requires a small selection of colors, a pencil and watercolor brushes. You will learn how to use a variety of different sized brushes and practice your brush control.
Hi! I’m Stacey Dodd from the Pigeon Letters Design Team and I am an avid watercolor paint-maker and artist based in New Zealand.
Supplies:
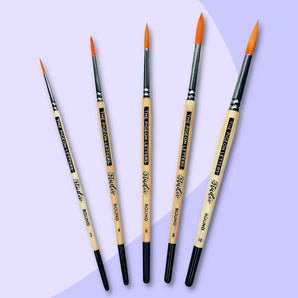
- Size 2, 4, and 8 round paint brush + liner brush
- 2 jars of water – 1 for rinsing dirty water and 1 for clean water
- Paper towel or rag
- 6 matte watercolors – I used a Paynes Grey, French Laquer Red, Light Green, Burnt Umber, Turquoise, and a Cobalt Blue for the background wash. You can use a color of your choice for the background wash. I.e. Purple!
- 1 shimmer watercolor – I used a light gold, you can use a silver, gold or bronze!
- Cold press paper – size A6
- A pencil and eraser
- Something to mix your colors on – a ceramic plate, painter’s palette.
Want to watch the tutorial instead?
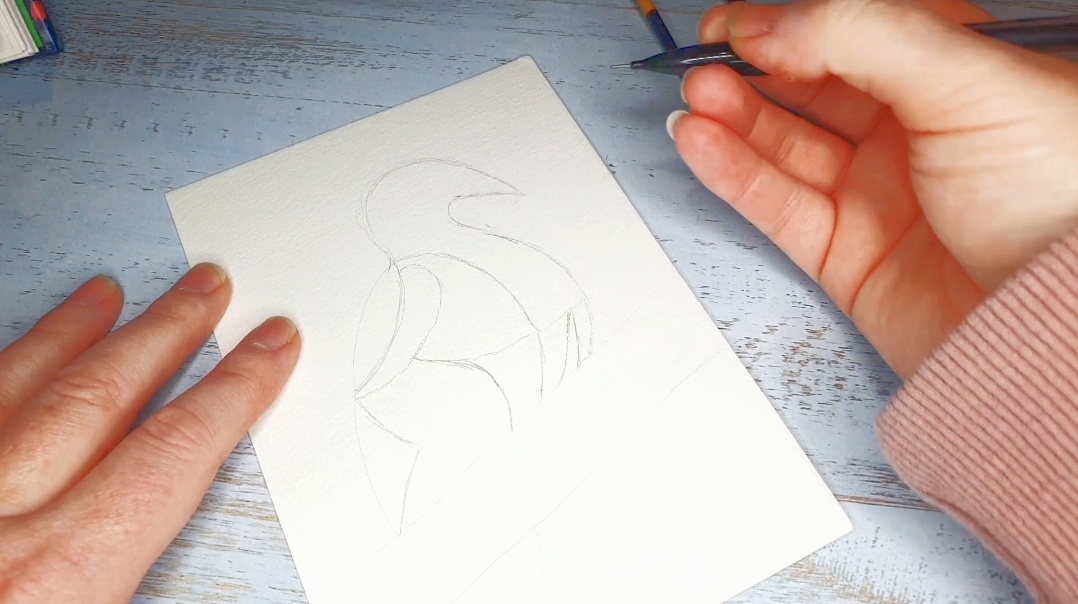
Step 1: Sketch out your Kereru Bird with Pencil
Before we jump into painting your Kereru bird – lets sketch it out first.
You will need to sketch out the branch ¾ of the way down the page going across the page. After this, you need to draw the outline of the Kereru and partition it into parts following my guide in the video.

Wanna get your hands on the best cruelty-free artist-grade brushes? Of course you do 😉
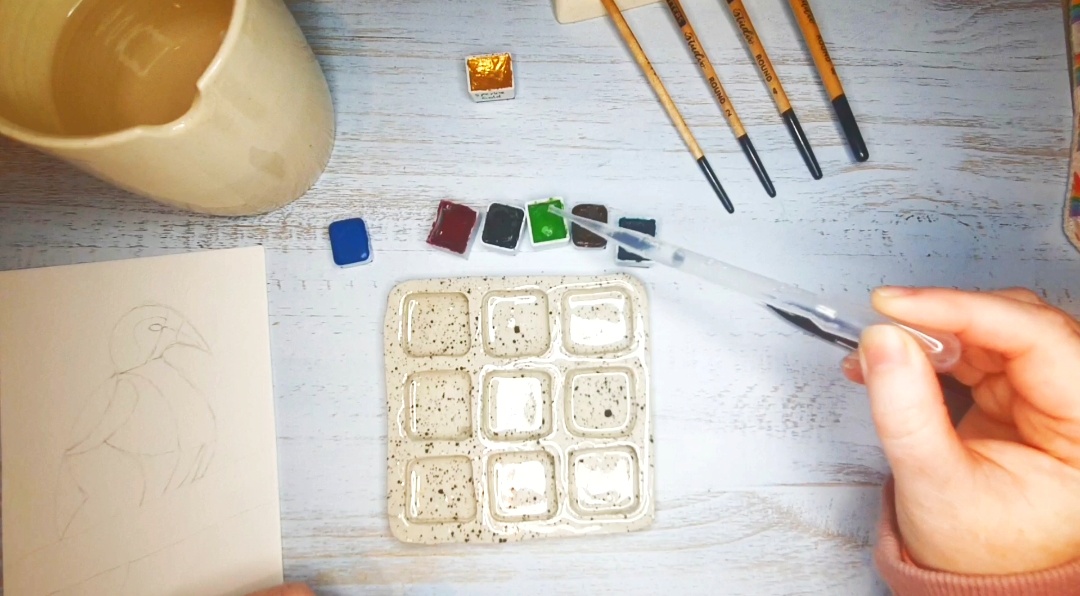
Step 2: Pre –wet Your Paints and Prepare Your Color Palette
Pre – wet all the colors you will be using for your kereru – you need to let them soak for 1 – 2 minutes and prepare your colors within your palette with the happy amount of water to paint ratio.
Step 3: Paint Your Branch
Pre – wet your branch area with water first. You will be using your size 4 brush for the branch.
Apply your layer of Burnt Umber, with darker areas on the top and bottom of the branch and then random dark patches. Use the Paynes Grey lightly in areas to create shadow and depth. Wet your brush, and use it to dilute the Paynes Grey if it is too dark. Go back in with your Burnt Umber to highlight and darken areas of the branch.

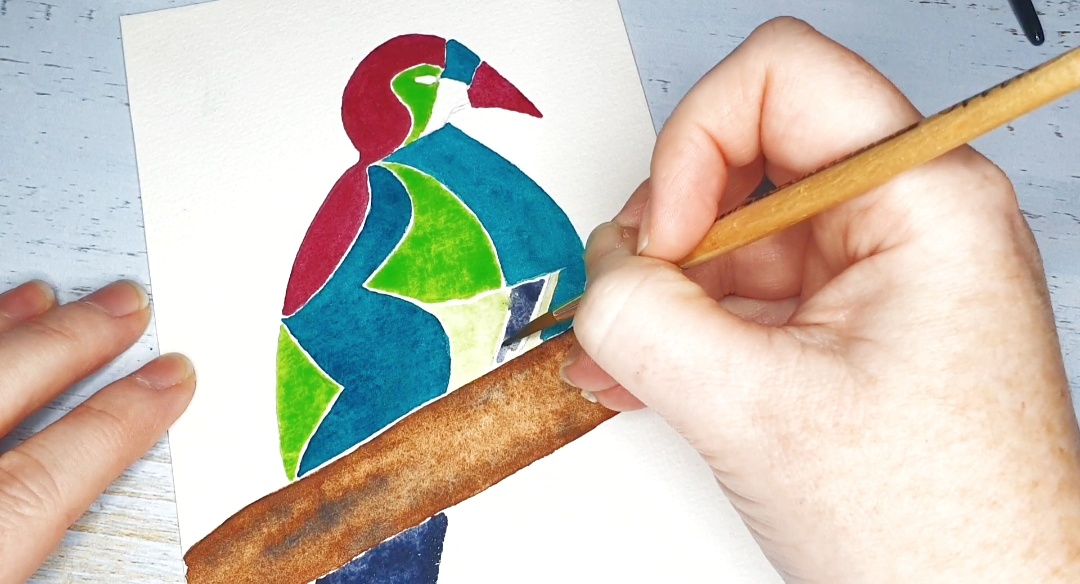
Step 4: Paint the Partitions of Your Kereru
Paint the partitions of your Kereru following my guidance. Go back in and add layers if there is fading. Use your size 4 round brush.
Hot Tip: Leave a lined gap between the different colors. If they touch and color bleeds – you can choose to leave it for added effect or dab it with a rag or paper towel and reapply and tidy the area.
Step 5: Paint the Background
Using a bigger brush – size 8, pre – wet your background with water and paint it with one color. I used Cobalt Blue here. You can use a different color like a Purple if you like!
Hot Tip: Make sure you leave a lined gap around the Kereru bird and branch.
Step 6: Paint the Gaps with Shimmery Paint
Ensure that your painting is dry. You can use a hairdryer or heat tool to speed this up or have a cuppa tea while you wait!
Once dry, use your shimmer to paint in the gaps. I used a light gold. I used my Size 2 brush to paint the lines left blank between the colored partitions of the bird and the branch.
Hot Tip: Make sure your shimmer paint has been pre-wetted well.
![]()
Step 7: Paint Details with Shimmery Paint
With the same shimmer, and using a liner brush, paint little flecks, dots or lines within each partition to add detail and shape. Use the liner brush to paint around the eye and claws.

![]()
See all of Stacey’s tutorials on the blog!
Stacey is from New Zealand, based in the upper North Island. Before having her son, she was a primary school teacher. When her son was born with complex needs, Stacey dived into art as a form of art therapy. She enjoys working with acrylic and watercolor paint. Stacey discovered her passion for making watercolor paint 4 years ago and has been obsessed ever since. She enjoys teaching others how to make watercolor paints through her online and in person workshops, as well as her blog. Stacey loves color, loves the art community and of course kitty cats!