Today, we are going to paint a wreath with homemade walnut ink. But we won’t go into the kitchen to heat or cook anything! We will make ink with cold water and dried walnut skins and paint a rather winter-inspired wreath with berries, leaves and stems. The monochrome result is delicate and nuanced thanks to the earthy tones of the ink. I can't wait to show you all this, let's dive into the magic world of painting with natural colors.
Hello, I am Adeline-Julie. I am passionate about watercolor painting, pigments and natural colors. One of my favorite things is to share with you what I have experienced in my studio to show you the process of making homemade natural colors. With this easy ink recipe you will succumb to the magic of homemade ink and natural colors. And I bet you will crave to paint with it! I can't wait to show you this.
Supplies:
To make the walnut ink:
- 5 to 7 Walnuts with their dry skins
- A grinder (optional)
- Gum arabic
- Water
- A coffee filter holder
- A Coffee filter
- Spoon to measure
- Different empty jars
- Knife
- Scissors

To paint the wreath:
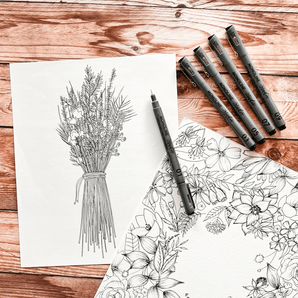
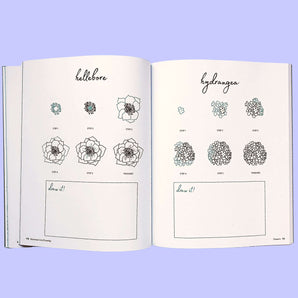
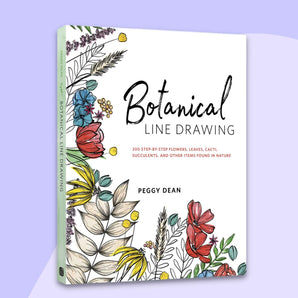
- Botanical Line Drawing: 200 Step-by-Step
- Round brush N°3/0
- Round brush N°2
- Round brush N°4
- Round brush N°6
- Round brush N°12
- Round brush N°16
- Liner N°20/0
- Liner N°0
- Cold press watercolor paper
- Paper Towel
- A pencil

Want to watch the video tutorial instead?
Step 1: Make Your Ink
- Cut the dried walnut skins.
Take about 5 to 7 walnuts and cut the skin in two parts. Cut it quite finely.

- Pass them into the grinder.
Crush and grind the walnut skins. If you don't have a grinder, that's okay. You can finely chop the walnut skins and proceed the same way as if you had a grinder.

- Add water.
Put water on the peelings and leave to macerate. In both cases, you take a glass container in which you put what you have ground or finely cut and you add water.

- Pass your juice into a coffee filter and add 2 drops of clove EO
Once it has macerated long enough and you find the color intense enough, strain it through a coffee filter. Don’t forget to add clove EO. By adding 2 drops of clove Essential oil, you will prevent mould.

- Add gum arabic and label your jars.
Bonus tip: You can add a bit of gum arabic. Don’t add too much. If you put 3 teaspoons of ink, put 1/2 teaspoon of gum arabic powder. Label correctly what you have in your containers.

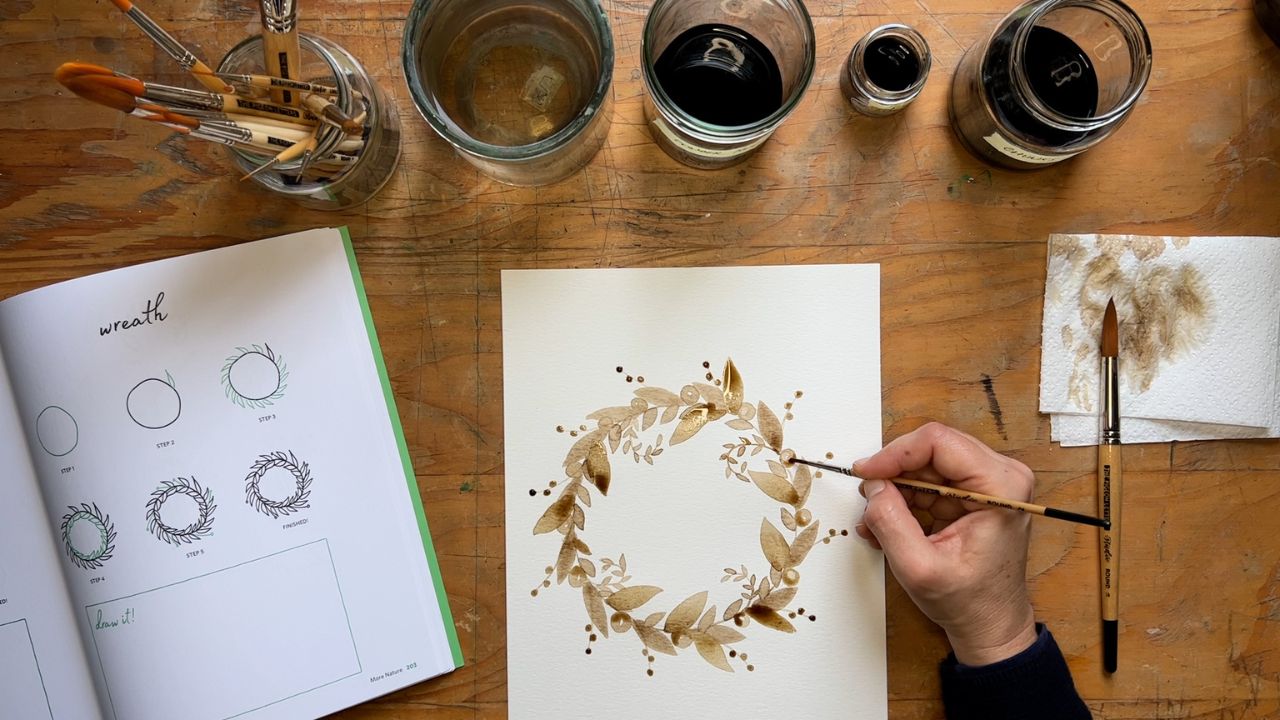
Step 2: Draw a Circle in the Middle of Your Paper
Start by drawing a freehand circle in the center of your sheet. The circle does not have to be perfect, we draw it to have a mark to go and put the leaves and the elements of our wreath.

Step 3: Paint the First Leaves
Take the round brush N°12 and dip it into your ink and start painting leaves around the circle. Use the tip of the brush and by extending the leave give a very small pressure on the brush.

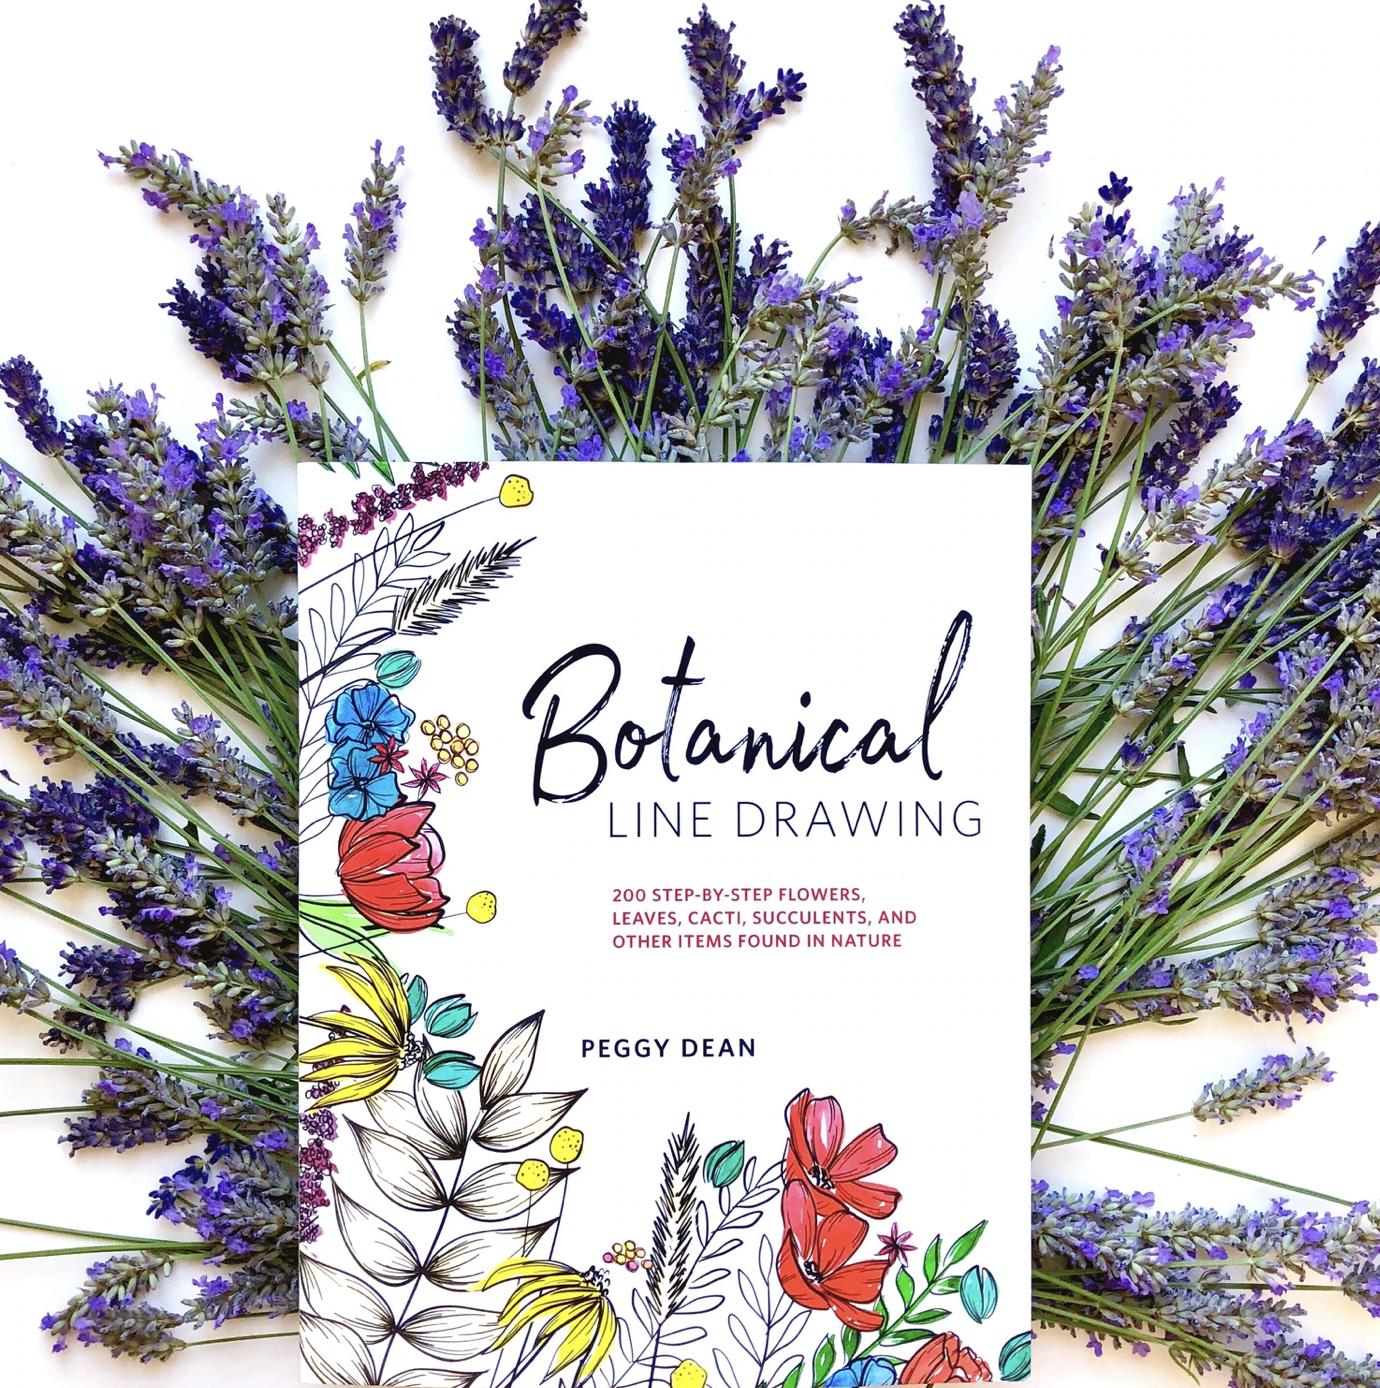
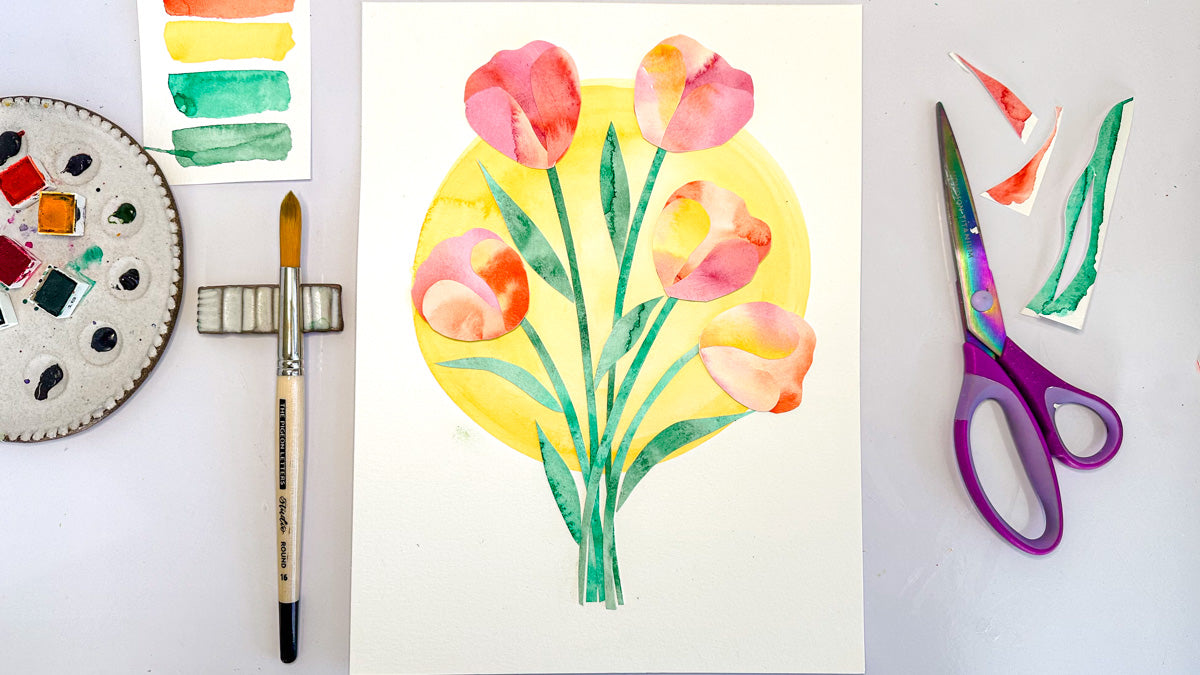
Wanna try painting other florals with ink? Grab our best-selling Botanical Line Drawing book for endless nature inspiration.
Step 4: Paint the Second Round of Leaves
Take the round brush N°6 and start painting leaves smaller than the previous ones. To do this, use the tip of the brush and draw the shape of a simple, small, round leaf. If you give a curved shape or a wave, great too!

Step 5: Paint Winter Berries
Apply the round brush N°2 and start painting round shapes for winter berries. When painting the berries, try to leave a circle in the center of the berry that does not contain ink.

Step 6: Paint Curly Twigs and Leaves
Apply the Liner 20/0 with ink and go over the pencil line of your circle and paint it or cover it with ink. Then add 4 curly twigs around it. Then take the round brush N°3/0 and add tiny leaves on the 4 curly twigs. If you want, add leaves in the inner circle and take the round brush N°4 and paint here and there small leaves to fill the composition around the wreath.

Step 7: Trace Curly Stems and Tiny Berries
Take the Liner N°0 and trace twigs by drawing stems that go outward from the wreath. Do not put pressure on the brush so as not to flatten it. Just draw a slightly curved line outward from your circle. Take next the round brush N°2 and add little dots for berries.

Step 8: Add Larger Leaves
To add thickness and volume to the wreath by adding larger leaves, take the round brush N°16 and where you find it’s a good option add leaves.

Step 9: Add Shadow and Depth to the Berries
To add shadow to the berries, take the round brush N°2 and choose to ink the lower part of the berries to add an ombre effect.
Once you’ve tried this tutorial, tag me (@adelinejuliebee) and Peggy (@thepigeonletters) so we can share your paintings. I was so happy to take you into the magic world of painting with natural colors. I hope you enjoyed it, let me know! Cheerio friends 😉

See all of Adeline-Julie’s tutorials on the blog!
Adeline-Julie is an artist and teacher specializing in watercolor. Former textile designer, lover of pigments and natural colors, she finds her inspiration while foraging through the bountiful valleys of the Belgian Ardennes collecting ingredients used to create her own inks & watercolors.