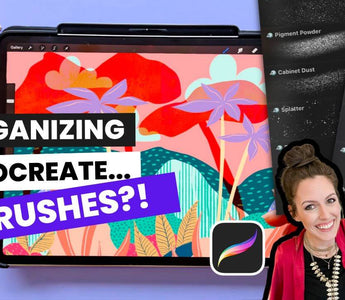
If you're like me and have a TON of brushes for Procreate (I like trying things out OK?), organization can be become really tricky. I often get asked how I organize my brushes, so buckle up for a super quick and easy tutorial on how to do just that.

Prefer watching the walkthrough instead?
To avoid chaos when you open up your brushes and get ready to work in Procreate, we're going to separate them with "dividers" to make everything easy to view and find.
Step 1: Create an empty brush folder

While I organize by the artist that created the brushes, you can decide to organize your brushes by type or how often you use them. Go with the option that will make your workflow quicker!
Step 2: Drag and drop the brushes to organize!

And now that your brushes are organized, you can peruse new resources to add to your collection!
Bonus tip for brush creators
For those of you that create your own brushes (or maybe you want to start creating them), I have another neat trick for you. Consider it a surprise bonus.
When I make a new set of brushes, I always add a cute little pigeon 🐦 emoji at the start so that I can see them easily. And to keep the brushes within the set organized, I set up a stamp and use it as a divider to separate brushes that fall into the same category.

And that's it! Now you're all set and ready to go 🥳 Looking for some tips to organize your Procreate gallery? Head to this blog and I'll show you how to do just that.


Super helpful. Thank you.