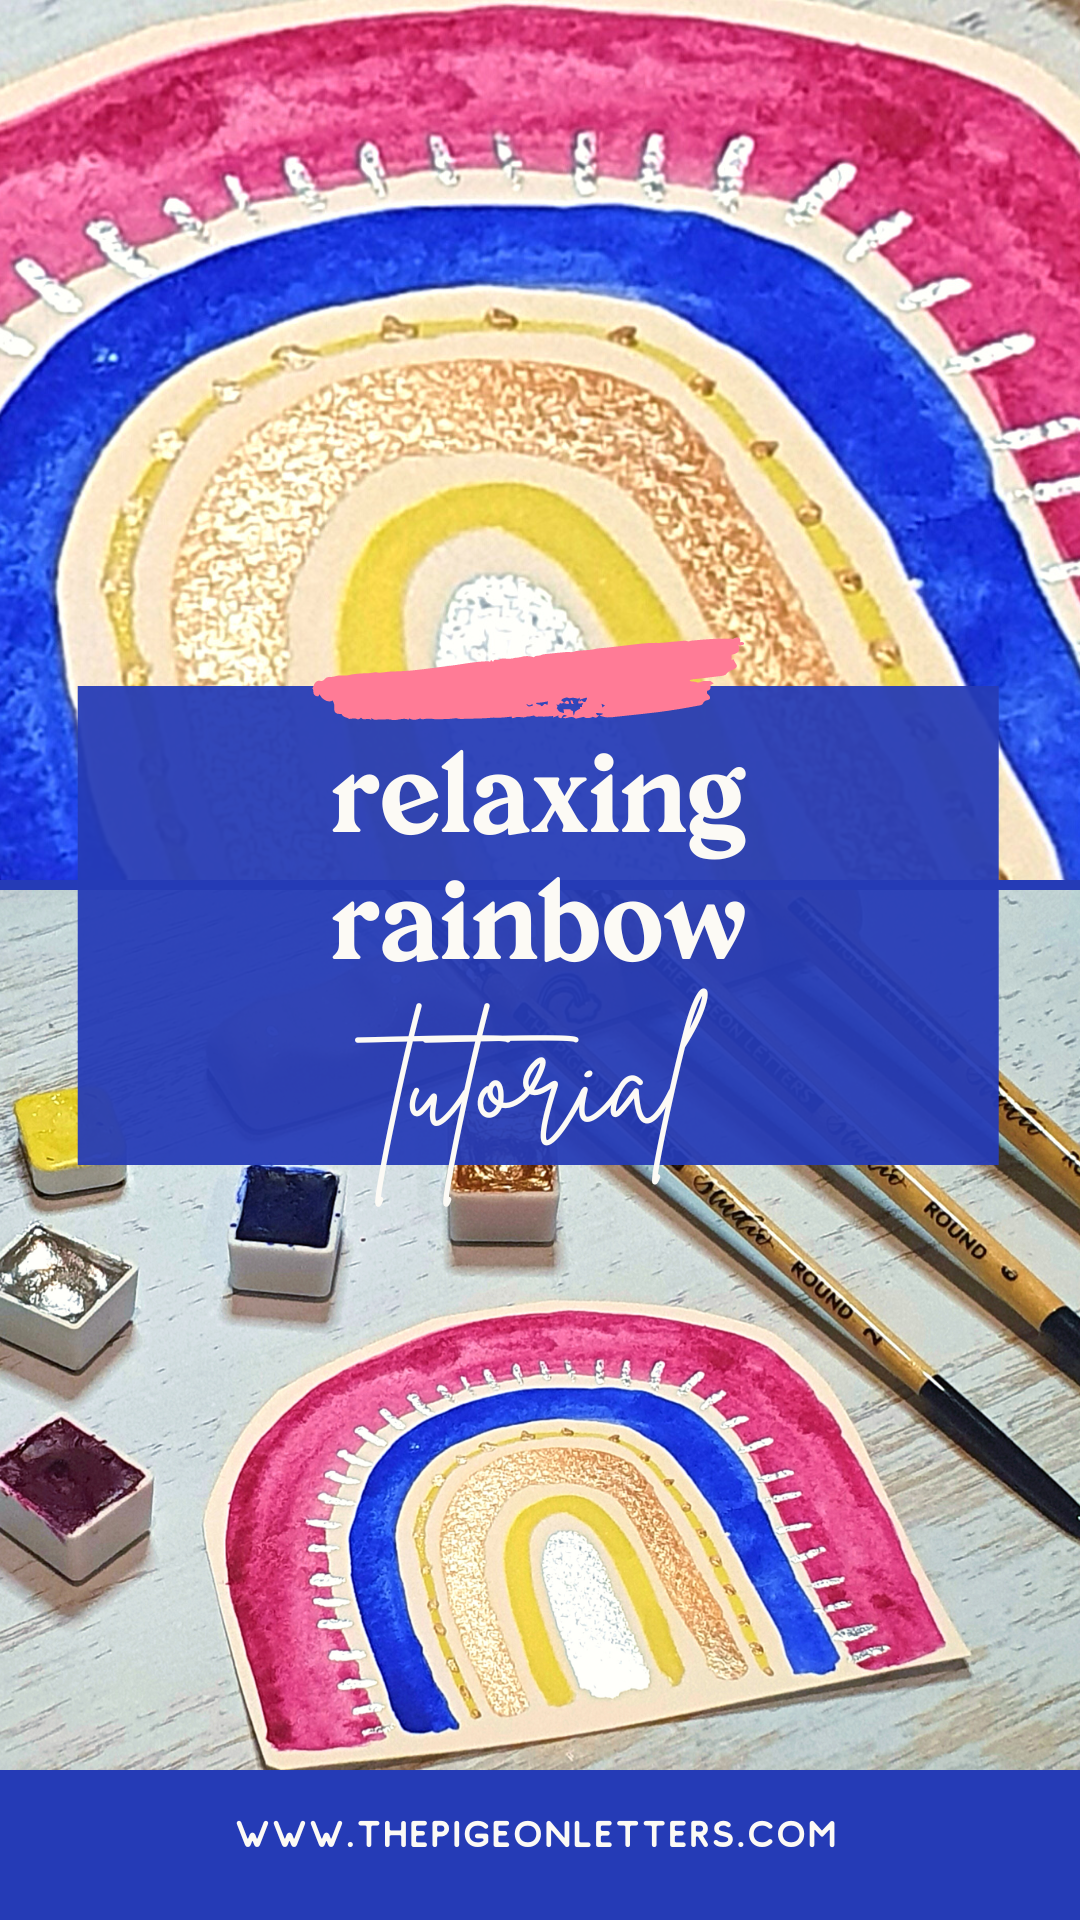
Want to paint a fabulously fun rainbow using watercolors? Here is a simple, step by step guide for painting a cheerful rainbow using different brush strokes and patterns. This is a relaxing painting activity that you can do when you have a limited spot of time.
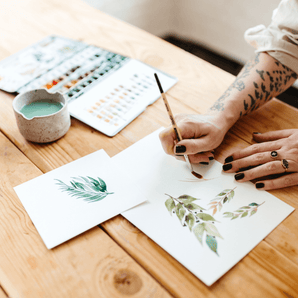
Hi! I’m Stacey Dodd from The Pigeon Letters Design Team and I am an avid watercolor paint-maker and artist based in New Zealand. Here's what you'll need to follow along...
Supplies:
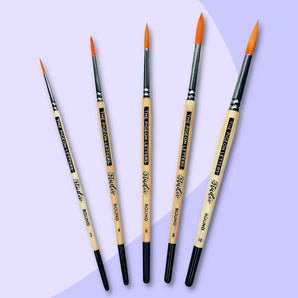
- Size 2, 6, and 8 round paint brush
- 2 jars of water – 1 for rinsing dirty water and 1 for clean water
- Paper towel or rag
- 3 matte watercolors – I used a blue, magenta and yellow
- 2 shimmer watercolors – I used a bronze and silver
- Washi tape
- Cold press paper
Prefer watching the tutorial instead?
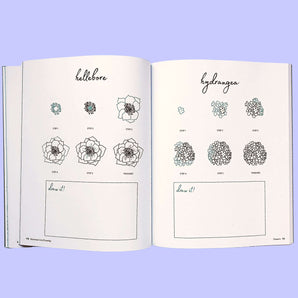
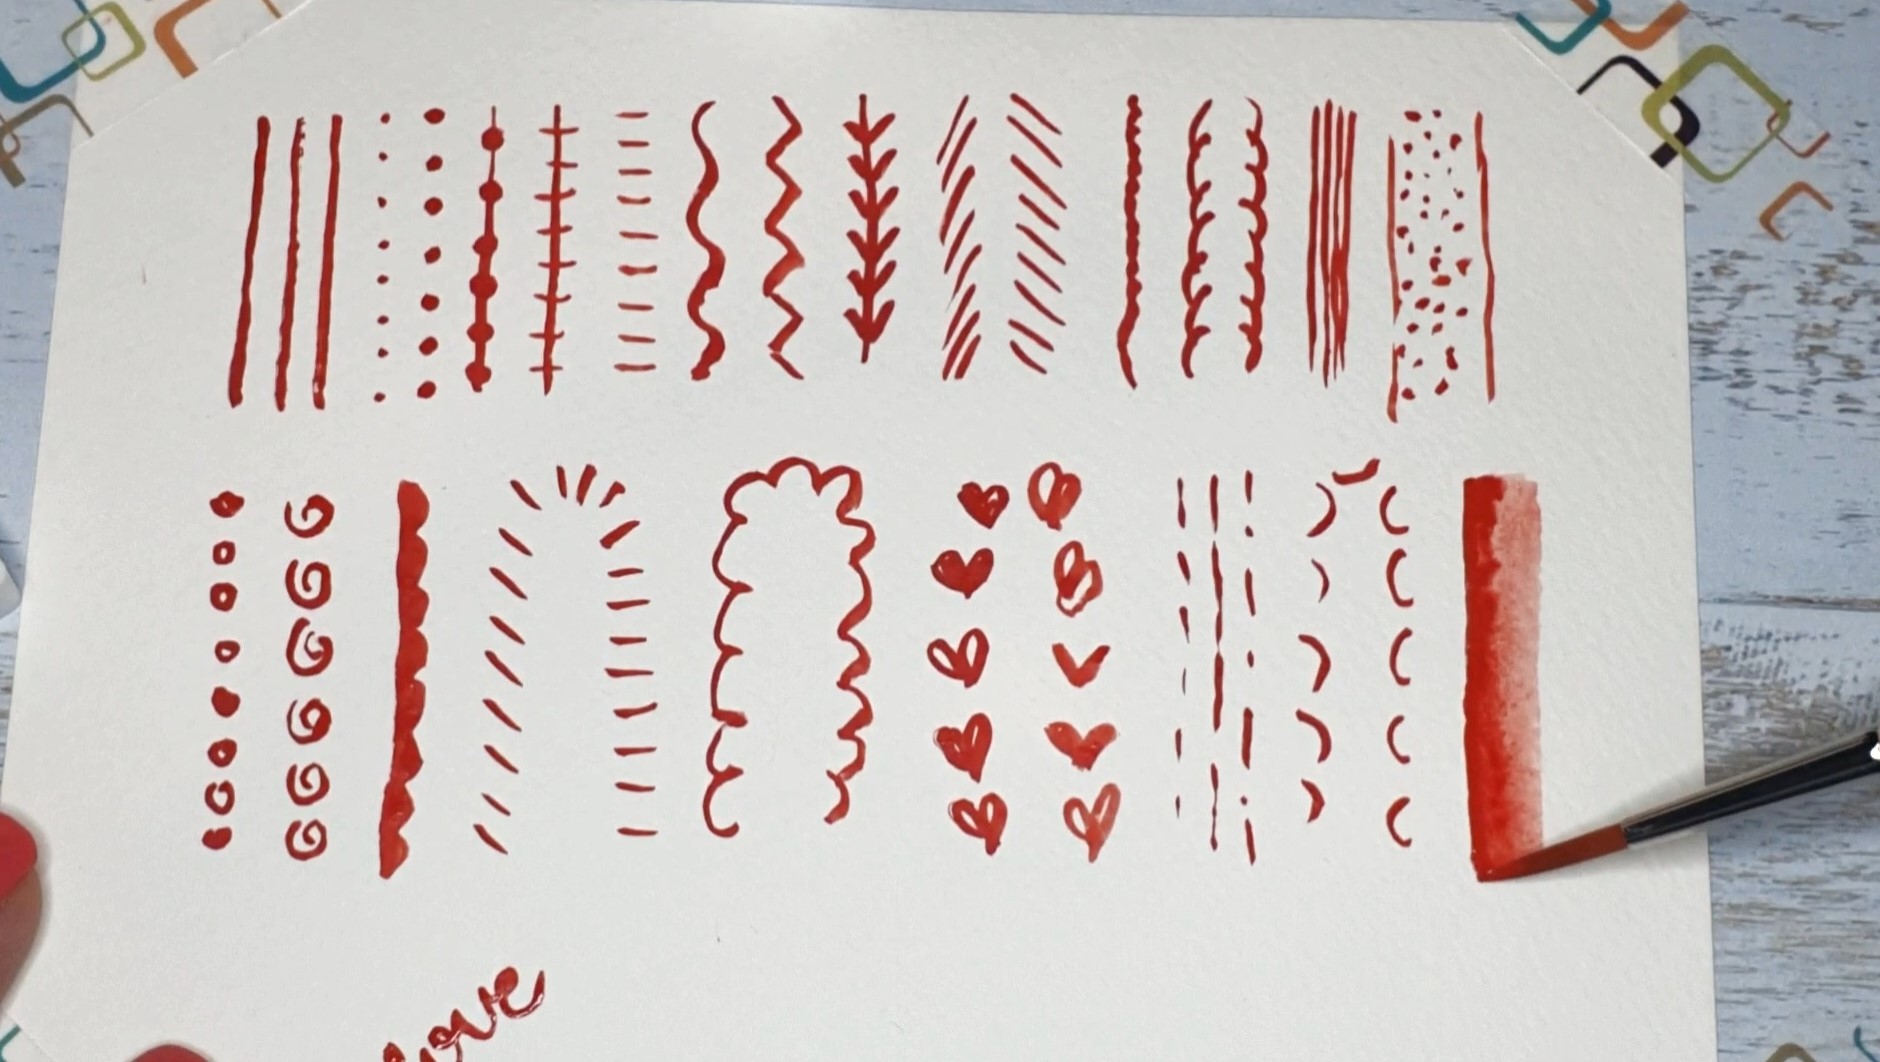
Step 1: Practice Your Brush Strokes
Before we jump into painting a fabulous rainbow, let's first practice a few different brush stroke patterns. This will be a great way for you to get familiar with your paintbrush.
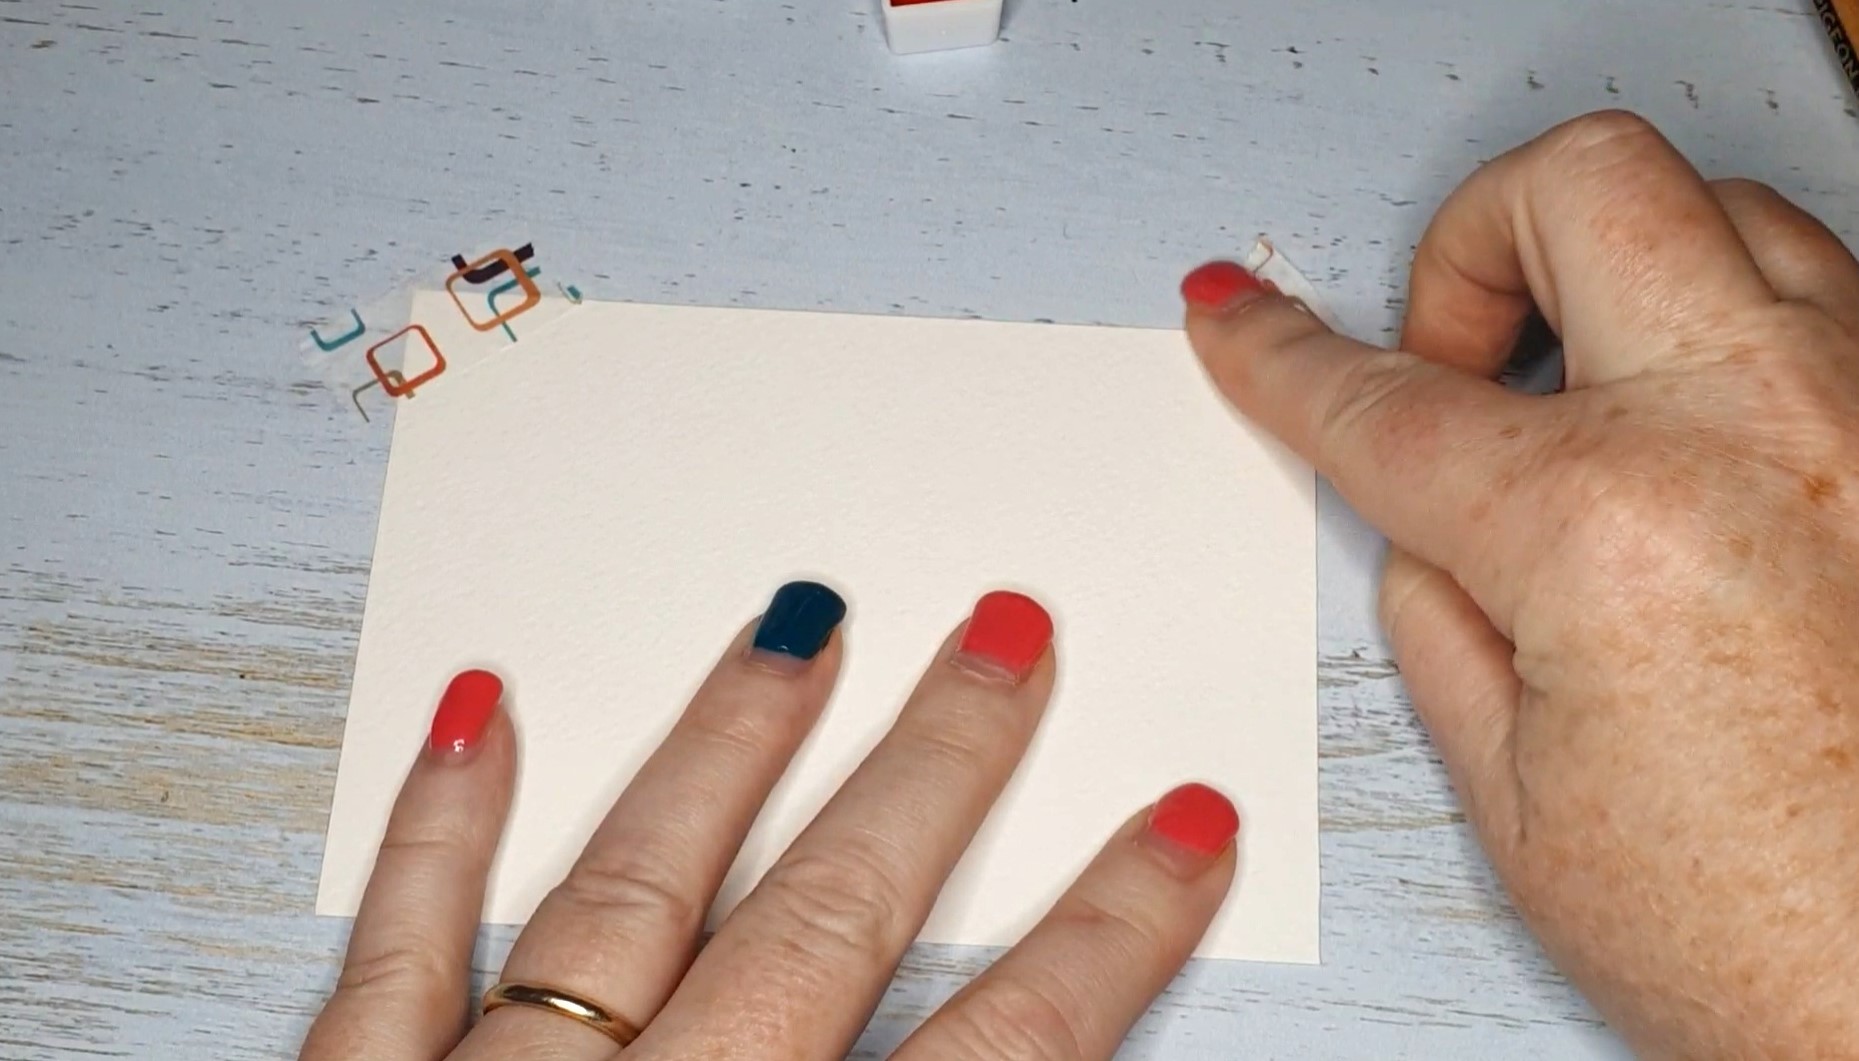
Step 2: Prepare and Secure the Paper
You now need to cut your paper to a size suitable for you. I have cut mine to an A6 size. This is approximately 4-1/8 x 5-7/8 inches or 105 x 148 mm
Secure the paper to your surface using washi tape.
Step 3: Pre-wet Your Paints
Pre-wet your paints and allow them to soak for 1 – 2 minutes for optimal pigmentation. You can alternatively prepare your paint in a ceramic dish.

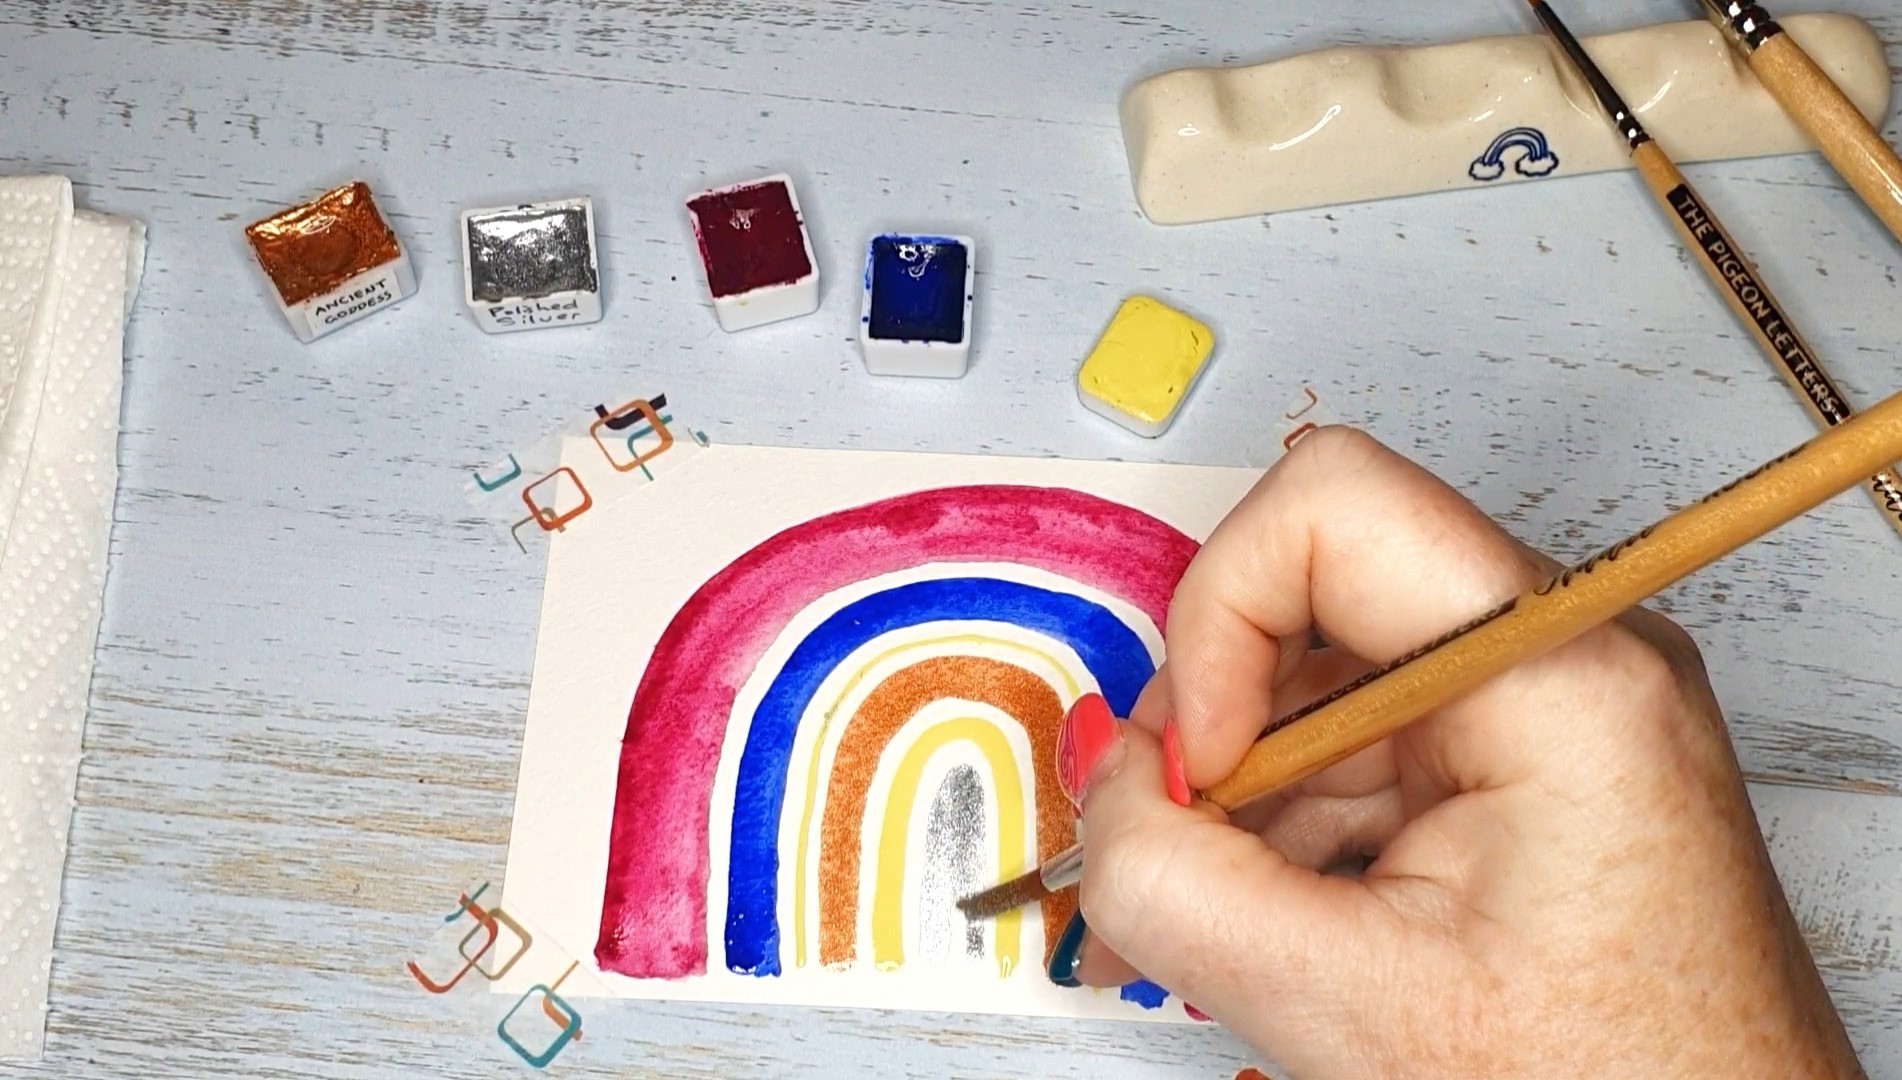
Step 4: Paint the First Layer
Using a bigger brush, start with a color (I used magenta here) for the larger rainbow arc.

Do another thinner arc using another color (I used blue here) and follow this with a much thinner line (I used yellow here)
I then used a different shimmer paint (the bronze) for a thicker line following that with a slightly thicker yellow line. The last arc is a filled in arc where I used silver.
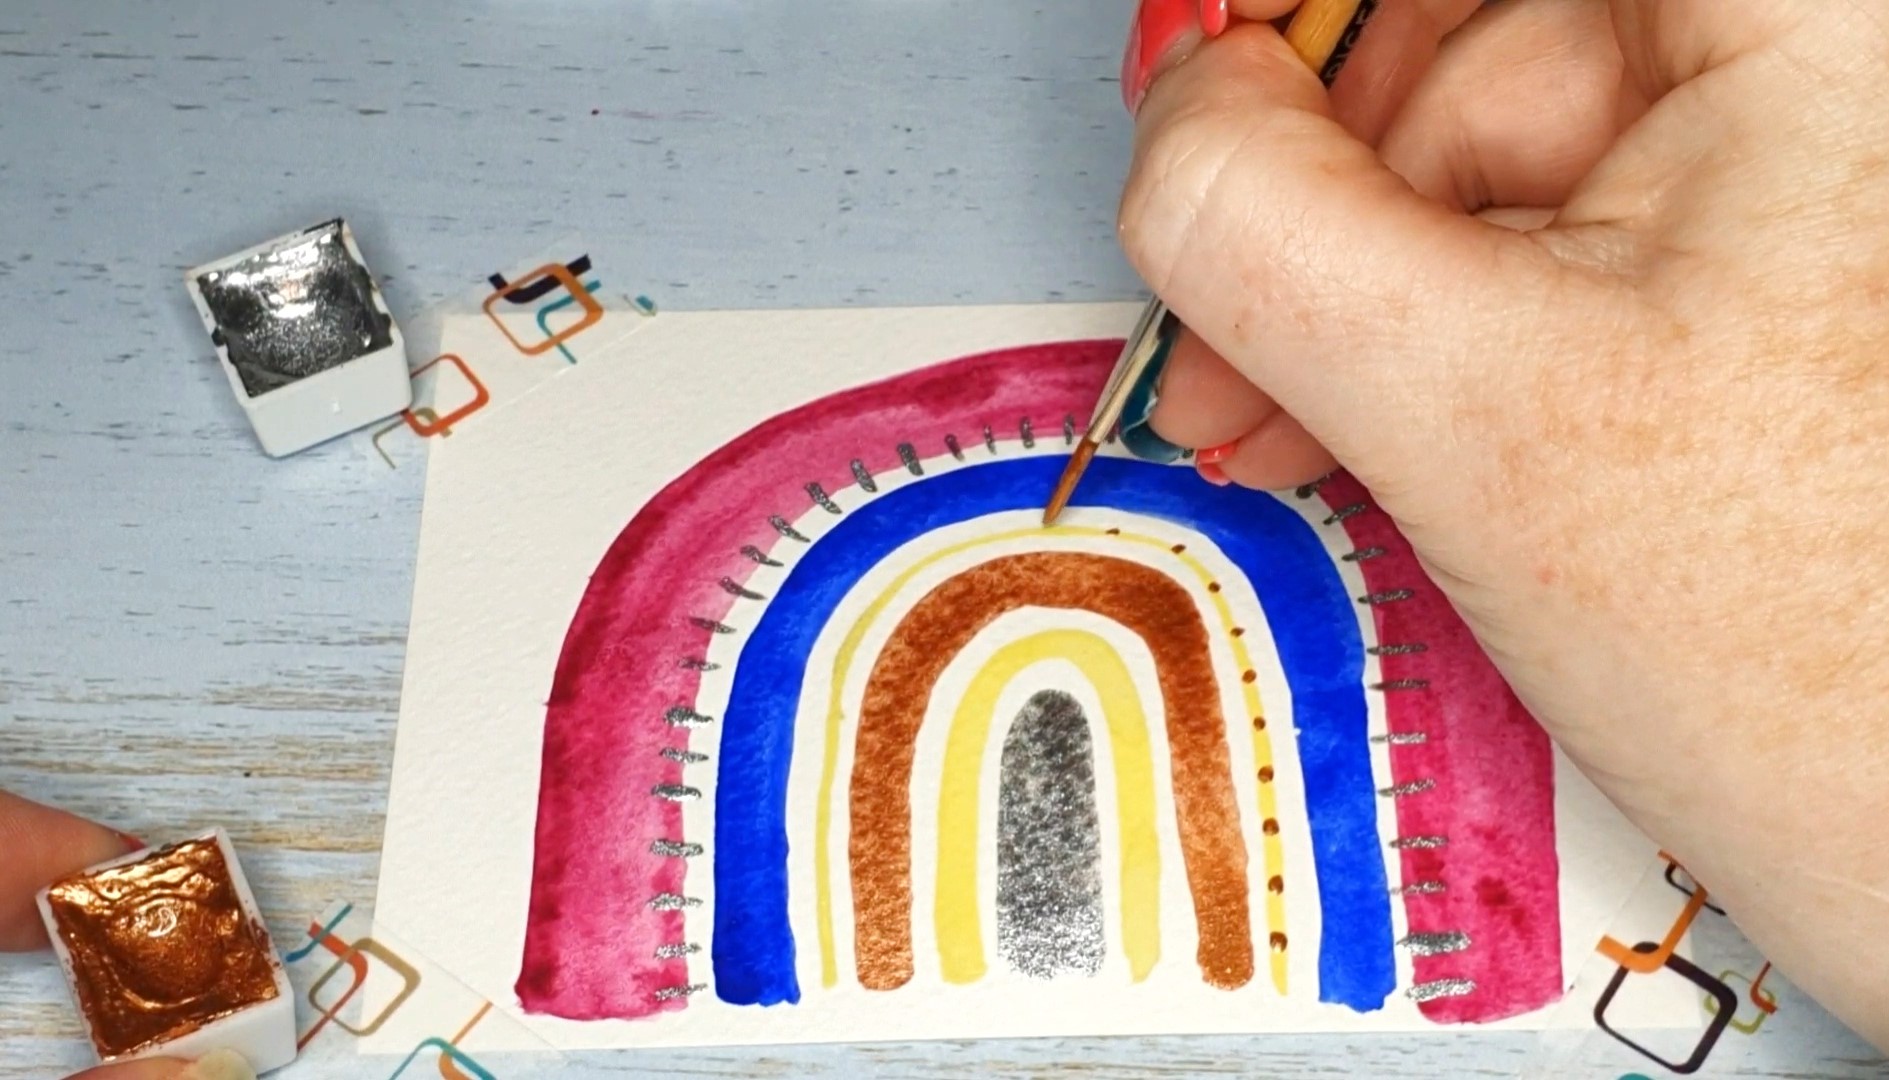
Step 5: Paint the Last Layer
Ensure that your paint is dry. You can use a hairdryer or heat tool to speed this up or have a cuppa tea!
Once dry, choose a shimmer to add in a pattern. I used silver and added dashes to create a contrast between the two outer thicker arcs.

I then used the other shimmer color (bronze) and added more pattern, little dots on top of the yellow, to break up the yellow and create a balance of shimmer and matte on the rainbow itself.
Hot Tip: Do not worry about perfecting the curves of the rainbow. If it is a little wonky, this gives it character!
I hope you enjoyed painting cheerful rainbows with me today! I would love to see your rainbows so please tag Peggy (@thepigeonletters) and me (@stakiwicolours) so that I can share or see them.

See all of Stacey’s tutorials on the blog!
Stacey is from New Zealand, based in the upper North Island. Before having her son, she was a primary school teacher. When her son was born with complex needs, Stacey dived into art as a form of art therapy. She enjoys working with acrylic and watercolor paint. Stacey discovered her passion for making watercolor paint 4 years ago and has been obsessed ever since. She enjoys teaching others how to make watercolor paints through her online and in person workshops, as well as her blog. Stacey loves color, loves the art community and of course kitty cats!
Enjoyed the tutorial? Pain for later!